Maximizing Efficiency: Venting a Range Hood Through a Side Wall
Introduction: The Importance of Properly Venting a Range Hood
Proper ventilation is crucial for a well-functioning kitchen, especially when it comes to range hoods. Venting a range hood through a side wall offers an effective way to remove smoke, heat, grease, and odors generated during cooking. In this comprehensive guide, we will explore the step-by-step process of venting a range hood through a side wall. From preparing the necessary tools to selecting the right location and installing the vent duct, you’ll learn how to ensure efficient and effective ventilation in your kitchen.
Maximizing Efficiency: Venting a Range Hood Through a Side Wall
-
Gathering the Essential Tools and Materials
a. Tools: Before beginning the venting process, gather the following tools: a power drill with bits, a reciprocating saw or jigsaw, a tape measure, a level, duct tape, a marker or pencil, a utility knife, a caulk gun, and appropriate safety equipment such as gloves and safety goggles.
-
Selecting the Ideal Vent Location
a. Determine range hood clearance: Ensure that the range hood manufacturer’s guidelines are followed regarding the recommended distance between the range top and the bottom of the hood. This ensures proper functionality and clearance for both ventilation and safety.
b. Locate an exterior wall: Identify a suitable exterior wall for venting. It should be within proximity to the range hood and have adequate space for the duct to pass through without obstruction.
c. Avoid obstructions and utilities: Make sure to avoid any potential obstructions such as electrical wiring, plumbing, or structural elements within the wall. Be cautious not to interfere with any existing utilities or essential structures.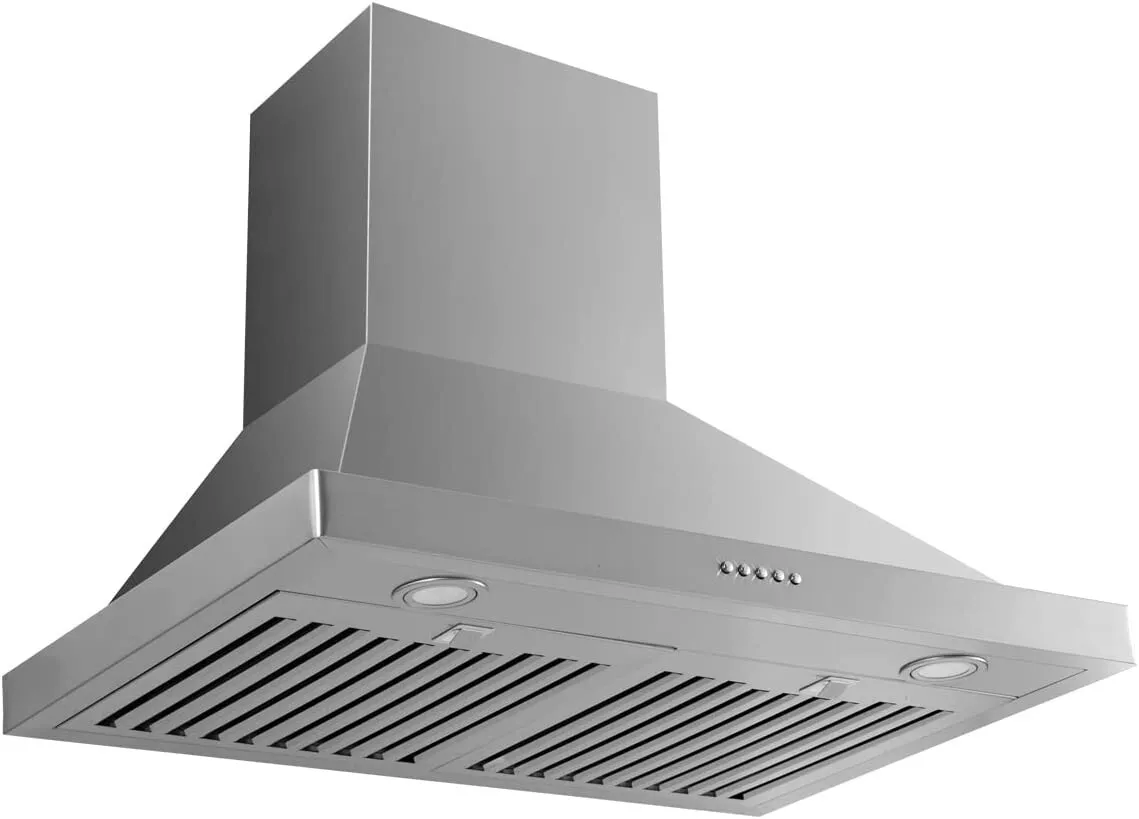
-
Preparing the Side Wall Opening
a. Measure and mark the desired location: Use a tape measure and mark the center of the vent opening on the exterior wall. Double-check the measurements to ensure accuracy.
b. Create a pilot hole: Drill a small pilot hole on the marked spot. This allows you to check for any obstructions within the wall before proceeding further.
c. Confirm the vent opening size: Using the rangehood duct kit, determine the appropriate size for the vent opening on the exterior wall. This should match the diameter of the duct you plan to use for venting.
d. Outline the vent opening: On the exterior wall, trace the outline of the vent opening using the appropriate dimensions identified in the previous step. Use a marker or pencil to create a clear and precise outline.
e. Cut the vent opening: With a reciprocating saw or jigsaw, carefully cut along the traced outline to create the vent opening. Take precautionary measures to ensure proper safety and control during the cutting process.
-
Installing the Vent Duct
a. Measure the duct length: Determine the required length of the vent duct, starting from the range hood outlet to the newly created vent opening on the exterior wall. Use a tape measure to obtain accurate measurements.
b. Cut the duct to size: Utilize a reciprocating saw or jigsaw to cut the vent duct to the appropriate length. Ensure that the cut edges are smooth and free from any rough edges or burrs.
c. Connect the duct to the range hood: Attach one end of the vent duct to the range hood outlet according to the manufacturer’s instructions. Use duct tape or metal clamps to secure the connection, ensuring a tight seal.
d. Feed the duct through the wall opening: From the range hood outlet, feed the other end of the vent duct through the vent opening on the exterior wall. Gradually guide the duct through the wall, ensuring it is properly aligned and centered within the opening.
e. Secure the duct in place: Use brackets or hangers to secure the vent duct to the interior wall, keeping it securely in position. This prevents excessive movement or strain on the duct and ensures a stable installation.
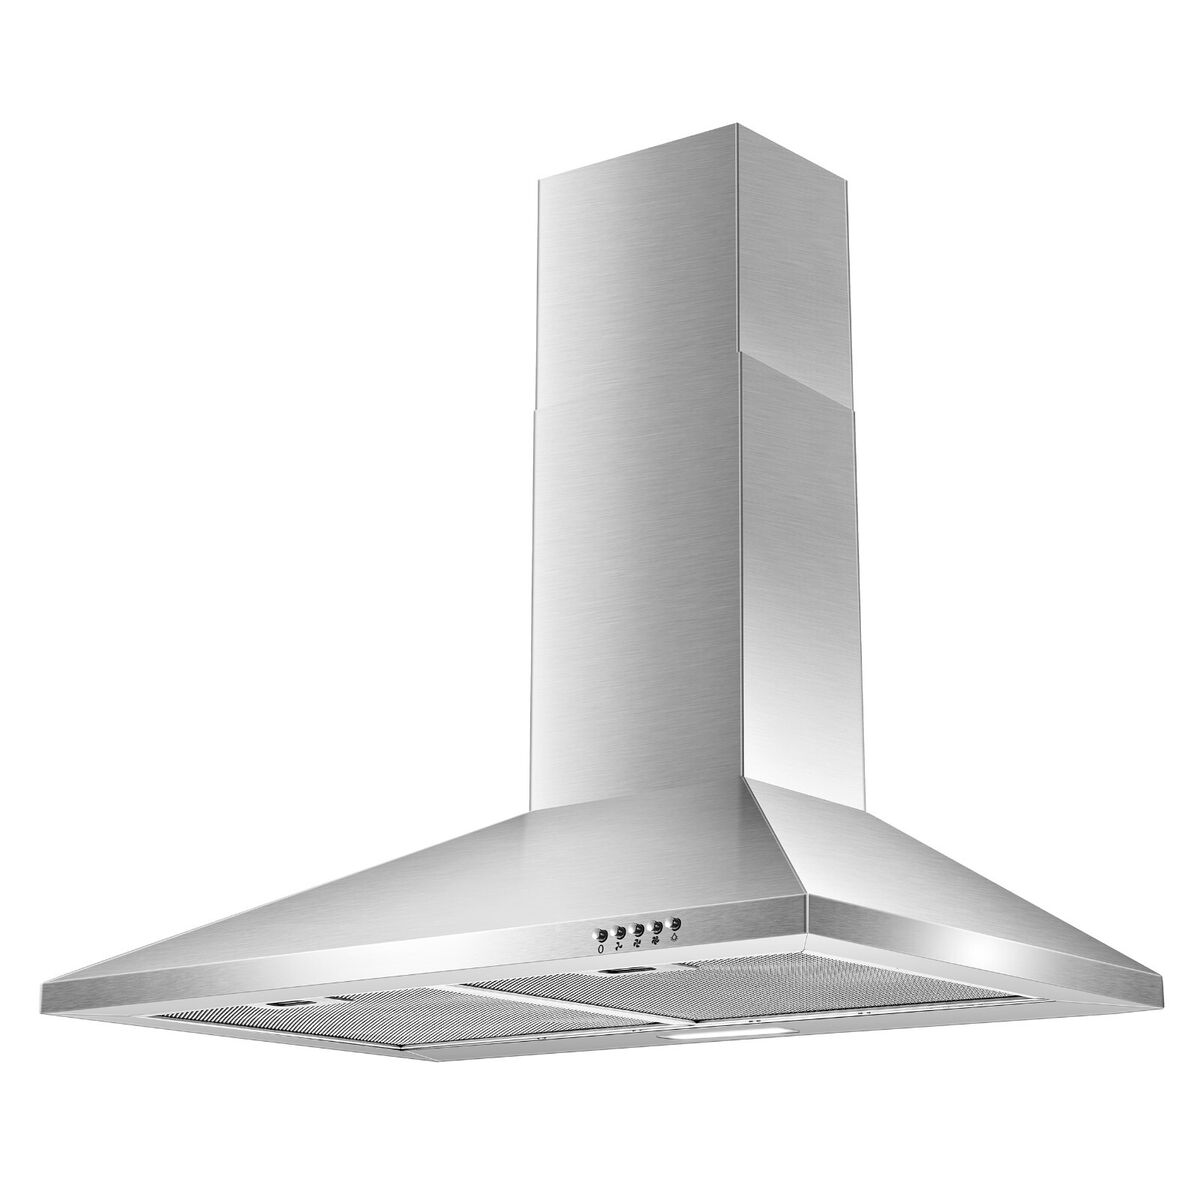
-
Installing the Wall Vent Cap
a. Selecting the appropriate vent cap: Choose a wall vent cap that matches the exterior of your home and provides adequate protection against the elements. Consider options with built-in dampers or louvers to prevent backdrafts when the range hood is not in use.
b. Position the vent cap: Position the vent cap over the vent opening on the exterior wall, making sure it aligns with the duct. Use a level to ensure the cap is level and plumb.
c. Mark the screw hole locations: Using a pencil or marker, mark the locations for the screw holes on the exterior wall. These marks will serve as a placement guide for securing the vent cap.
d. Attach the vent cap: Secure the vent cap to the exterior wall by using appropriate screws or anchors, depending on the wall material. Ensure a tight and secure fit to prevent any water or debris from entering the vent system.
-
Finalizing the Installation
a. Seal gaps and joints: To prevent air leaks, use caulk to seal any gaps or joints between the vent cap and the wall opening. This ensures that no outside air or pests can enter the duct system.
b. Verify proper airflow: Turn on the range hood and check for proper airflow through the vent cap. Confirm that the air is being effectively discharged outside the home and not recirculated back inside.
c. Test the venting system: Test the venting system by running the range hood during a cooking activity. Observe if the ventilation effectively captures smoke, odors, and other cooking byproducts, ensuring they are efficiently vented outside through the newly installed duct.
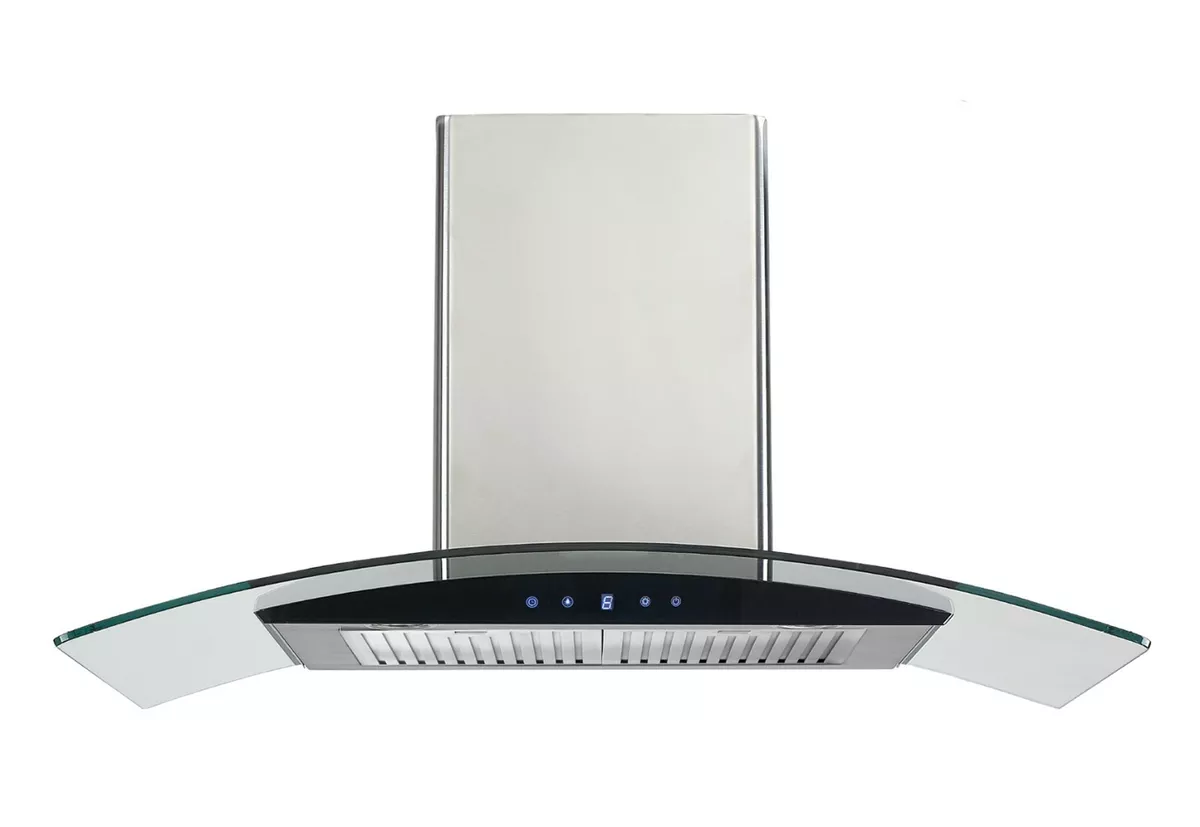
-
Ensuring Proper Maintenance and Cleaning
a. Regular cleaning of the vent hood: Regularly clean the exterior and interior surfaces of the vent hood to remove grease buildup that can hinder its efficiency. Refer to the manufacturer’s instructions for proper cleaning techniques and recommended cleaning products.
b. Cleaning the vent duct: Over time, the vent duct may accumulate grease, dust, and other debris. It’s essential to perform regular cleanings to prevent any blockages or obstructions. Use a long brush or duct cleaning kit to remove any buildup within the duct.
c. Checking for leaks and damage: Periodically inspect the vent duct and wall vent cap for any signs of damage or leaks. Look for loose connections, cracks, or holes that may compromise the effectiveness of the ventilation system. Address any issues promptly to maintain optimal performance.
d. Filter replacements: If your range hood utilizes filters, follow the manufacturer’s guidelines for replacing them regularly. Grease filters can become clogged over time, hindering airflow and reducing efficiency. Replace them as recommended to ensure proper ventilation.
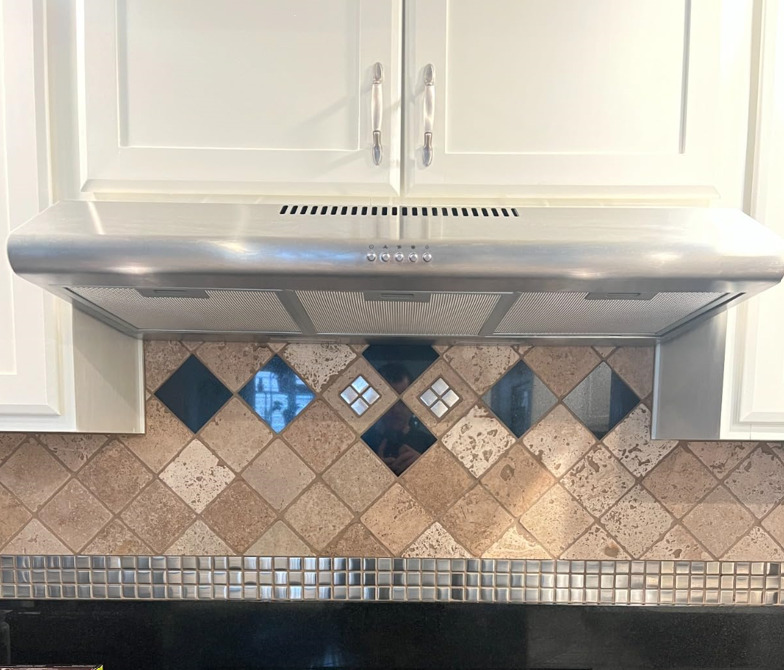
Conclusion: Achieving Effective Ventilation with Side Wall Venting
Venting a range hood through a side wall is a practical and efficient method to remove smoke, heat, grease, and odors from your kitchen. Follow these step-by-step instructions, using the necessary tools and materials, to vent your range hood through a side wall successfully.


