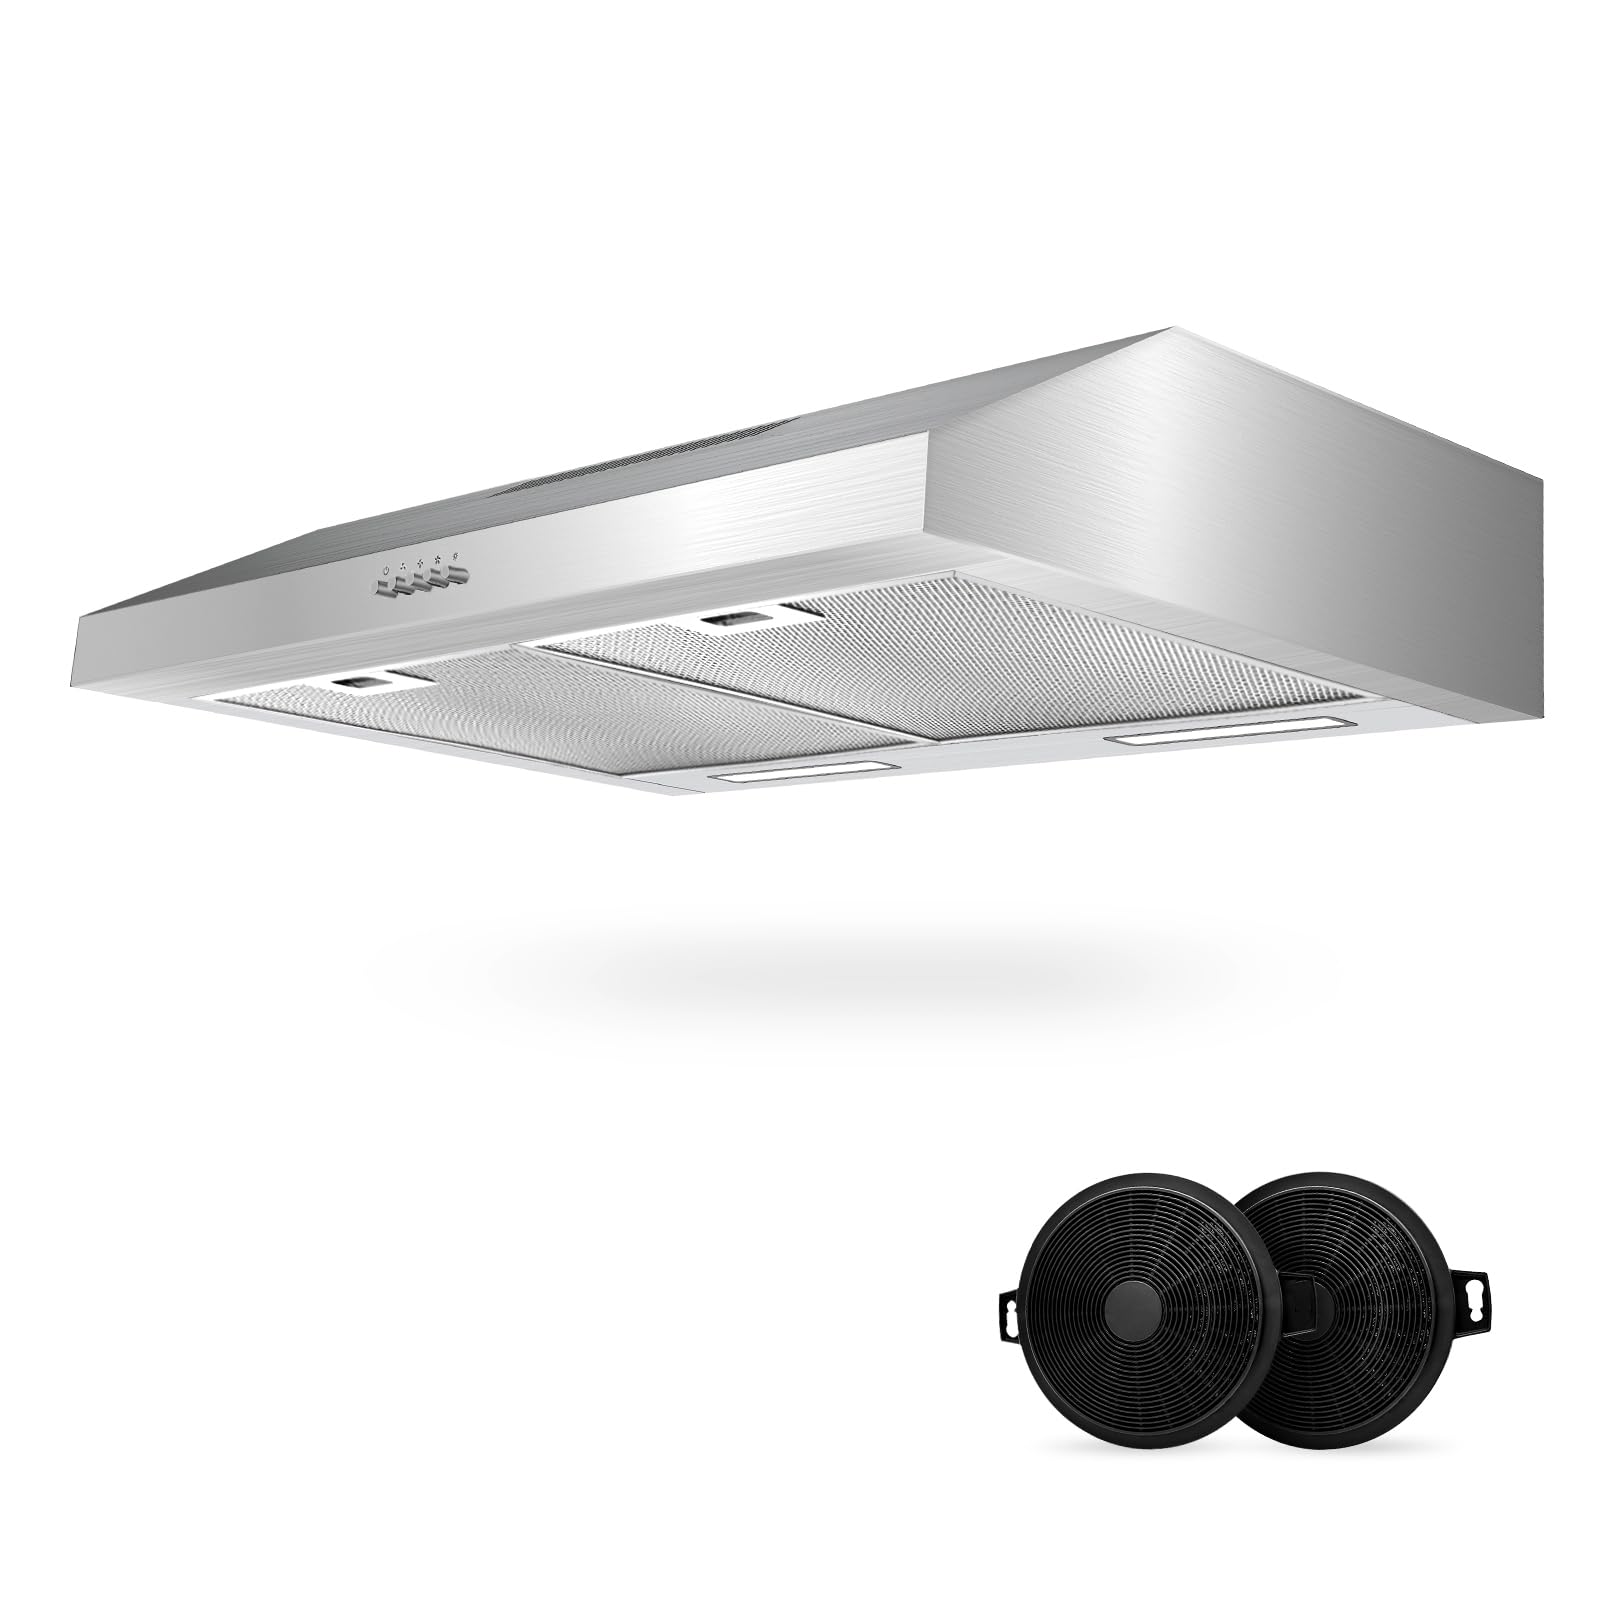
How to Replace the Light Bulb in a Range Hood?
Introduction:
Importance of Maintaining Proper Lighting in a Range Hood
The light bulb in a range hood provides illumination for cooking and enhances visibility in the kitchen. However, light bulbs eventually require replacement due to burnout or reduced brightness. In this comprehensive guide, we will walk you through the step-by-step process of replacing the light bulb in a range hood. By following these instructions, you can ensure proper lighting in your kitchen and maintain an efficient and enjoyable cooking experience.
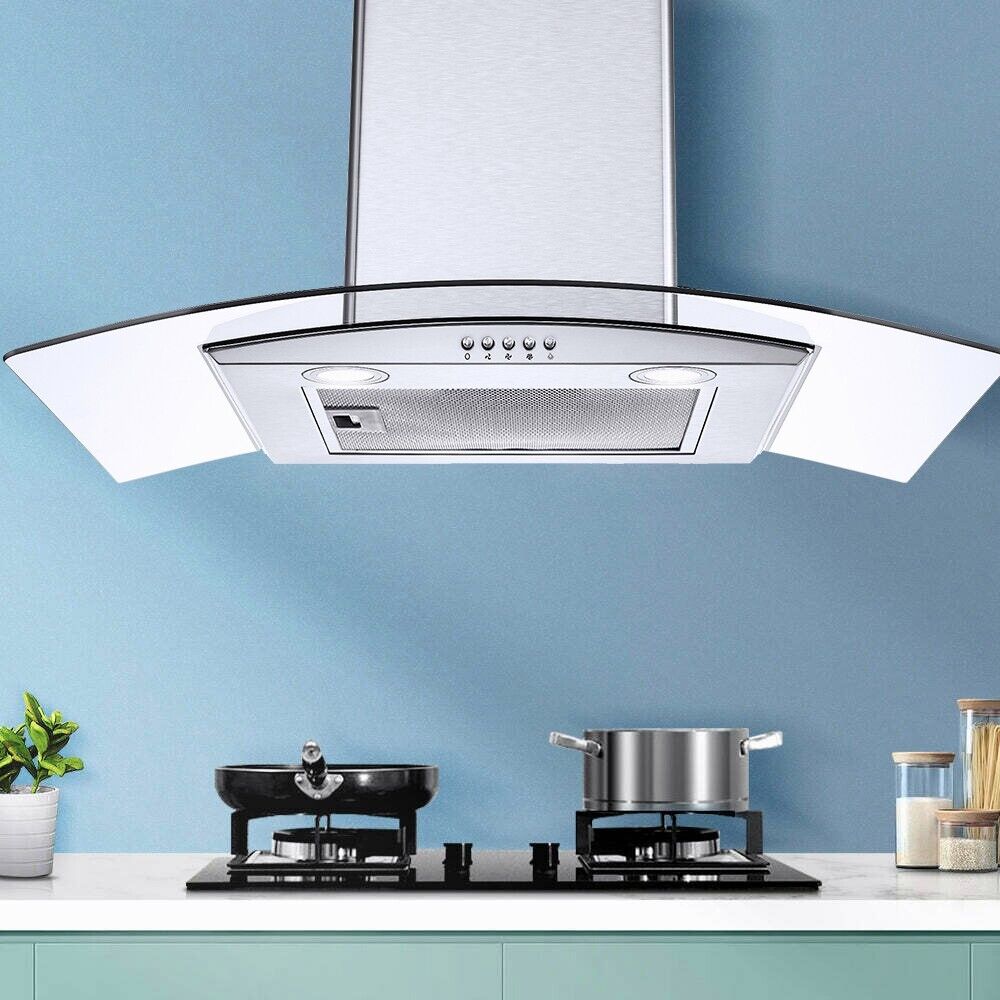
How to Replace the Light Bulb in a Range Hood: A Step-by-Step Guide
-
Importance of Proper Lighting in a Range Hood
a. Enhanced visibility: Adequate lighting in a range hood improves visibility, allowing you to see the cooktop and food clearly. This is crucial for precise cooking techniques and ensuring safety while working with hot surfaces and potentially hazardous utensils.
b. Ambiance and aesthetics: Range hood lighting creates a pleasant ambiance in the kitchen, enhancing the overall aesthetic appeal of the space. Well-lit cooking areas are welcoming and provide an inviting atmosphere for both family and guests.
-
Understanding the Type of Light Bulb
a. Check the range hood manual: The first step in replacing the light bulb is to refer to the range hood manual or documentation. The manual typically specifies the compatible bulb type, wattage, and any other specific requirements.
b. Determine the bulb type: If you do not have access to the manual, inspect the existing bulb to identify its type and wattage. Common types include incandescent, halogen, or LED bulbs. Ensure that the replacement bulb matches the required specifications.
-
Preparing for the Replacement
a. Turn off the power: Before replacing the light bulb, ensure that the range hood is switched off, and the power supply to the unit is disconnected. This step ensures your safety and prevents electrical accidents during the replacement process.
b. Allow the bulb to cool: If the range hood light has been in use recently, wait for the bulb to cool down before attempting to remove it. This prevents accidental burns.
-
Removing the Old Light Bulb
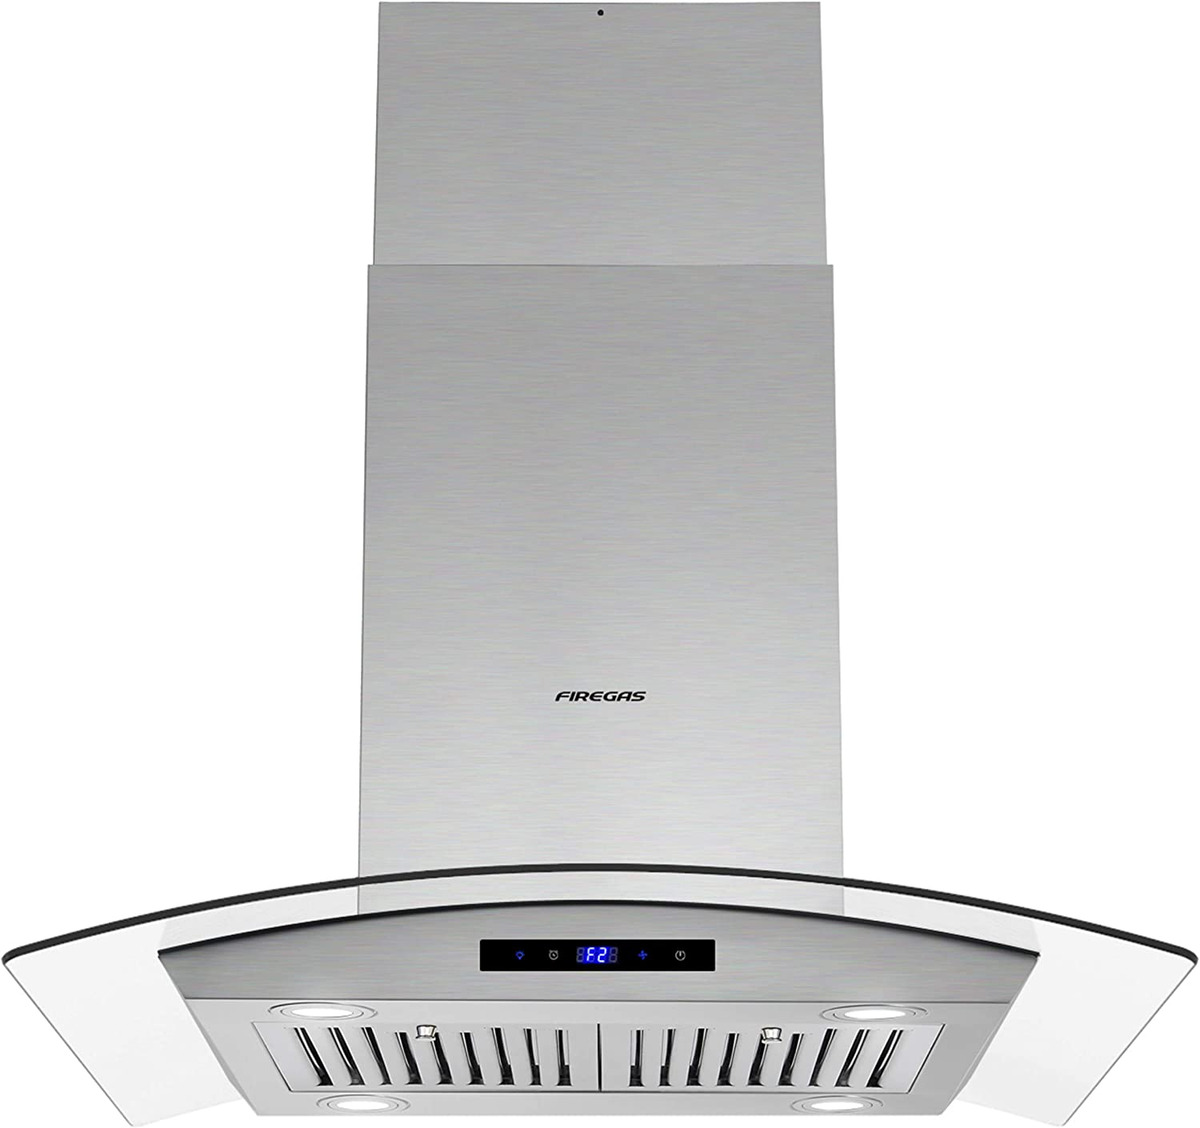
a. Locate the bulb compartment: Depending on the range hood’s design, the light bulb may be accessible from inside, underneath, or behind the range hood. Identify the bulb compartment and gain access to it as per the specific design.
b. Unscrew or unclip the bulb: Depending on the type of light bulb, gently unscrew it counterclockwise or unclip it from its housing. Take care not to exert excessive force to avoid shattering the bulb.
c. Dispose of the old bulb: Properly dispose of the old bulb following local regulations for handling and recycling light bulbs. Many communities have designated recycling centers or programs for safe disposal.
-
Installing the New Light Bulb
a. Insert the new bulb: Position the replacement bulb in the socket, ensuring a secure fit. For screw-in bulbs, rotate them clockwise until snug. For push-in or clip-on bulbs, gently insert and secure them according to their specific design.
b. Check the compatibility: Verify that the replacement bulb matches the recommended wattage and type specified in the range hood manual. Using an incompatible bulb could damage the light fixture or pose a fire hazard.
-
Testing the New Light Bulb
a. Reconnect the power supply: Once the new bulb is in place, reconnect the power supply to the range hood. Ensure the range hood’s controls are set to the Off position before turning on the power.
b. Test the lighting: Turn on the light switch or activate the light function on the range hood to verify that the new bulb is functioning correctly. Check for proper illumination and ensure there are no flickering or dimming issues.
-
Maintenance and Extended Bulb Life
a. Regular cleaning: Cleaning the light fixture and surrounding area helps maintain optimal lighting conditions. Grease, dust, and other particles can accumulate over time, reducing the light output. Clean the fixture as per the range hood manual’s instructions.
b. Handle bulbs with care: When replacing or handling light bulbs, avoid touching the glass with bare hands. The oils from your skin can shorten the bulb’s lifespan. Use a clean cloth or disposable gloves to handle bulbs to prevent contamination.
c. Monitor bulb lifespan: Keep track of the light bulb’s lifespan and proactively replace it before it burns out completely. Regularly inspect the bulb’s brightness and consider replacing it if you notice a significant decrease in illumination.
-
Troubleshooting Common Light Bulb Issues
a. Flickering or dimming: If you experience flickering or dimming of the light bulb even after replacement, there may be an underlying issue. Check the bulb connection to ensure it is securely fastened and contacts are clean. If the problem persists, consult the range hood manual or consider seeking the assistance of a professional technician.
b. Excessive heat: If you notice excessive heat generated by the light bulb or surrounding area, it may indicate an issue with the bulb wattage. Ensure that the replacement bulb matches the recommended wattage specified in the range hood manual to prevent overheating and potential damage.
c. Multiple bulb fixtures: In certain range hoods, multiple light bulb fixtures may be present. If one bulb fails or requires replacement, it is advisable to replace all bulbs to maintain uniform lighting. This ensures consistent brightness and avoids discrepancies in the overall illumination.
-
Additional Tips for Optimal Lighting
a. Consider LED bulbs: LED bulbs are becoming increasingly popular due to their energy efficiency and longevity. They consume less power than traditional bulbs and have a longer lifespan, saving you money on energy bills and bulb replacements in the long run.
b. Customizing lighting options: Some range hoods offer adjustable light settings, such as brightness control or color temperature selection. Explore and utilize these features to customize the lighting according to your preferences and specific cooking needs.
c. Periodic maintenance checks: Make it a habit to periodically inspect the light bulb’s condition, even if it is functioning correctly. Check for signs of wear, such as discoloration or dark spots on the bulb, as these may indicate imminent failure.
Conclusion:
Maintaining Proper Lighting in Your Range Hood
Proper lighting is essential for a functional and aesthetically pleasing kitchen environment. By following this comprehensive guide to replacing the light bulb in your range hood, you can ensure optimal visibility and create a welcoming ambiance. Understanding the bulb type, preparing for the replacement, and installing the new bulb correctly will contribute to a well-lit kitchen and an efficient and enjoyable cooking experience. With routine maintenance and careful handling, you can maximize the lifespan of your range hood light bulbs and maintain their brightness for years to come.


