Fresh Plum Juicer Blends for a Healthy Start
Introduction to Plum Juicing Benefits
Plum juicing is a tasty way to boost health. Fresh plums, when juiced, offer a rich source of vitamins and minerals. Sipping on plum juice can deliver a host of benefits. Plum juice is packed with antioxidants. These compounds fight free radicals and can help reduce the risk of chronic diseases. Vitamin C in plums promotes skin health and immune function.
The fiber in plums helps with digestion. A plum juicer recipe often retains some fiber, aiding gut health. Potassium in plums regulates blood pressure and supports heart health. Plum juice has natural sugars for a quick energy boost. Unlike processed snacks, plum juice provides clean calories.
For those watching their weight, plum juice can be a smart addition. Low in calories yet filling, it can curb appetite without weight gain. Also, anthocyanins in plums may help with memory. Regular consumption of plum juice might contribute to better brain health.
In sum, incorporating a plum juicer recipe into your diet has multiple perks. It’s easy, delicious, and packed with nutrients to support overall well-being.
Selecting the Best Plums for Juicing
When making a plum juicer recipe, choosing the right plums is vital. The best plums for juicing are ripe, juicy, and flavorful. Look for plums that are firm but give slightly to the touch, showcasing their readiness to juice. The skin should be smooth and free from any bruises or blemishes. Color is also a clue to maturity; fully colored plums tend to be sweeter and juicier.
Take a moment to smell the plums. A fragrant fruit often hints at ripeness. This isn’t just about taste; ripe fruits pack more nutrients. The variety of plum doesn’t matter much for juicing. However, red and black plums usually yield the most flavor. If you prefer a tart juice, green plums might be your choice.
It’s always best to choose organic plums when available. They are free from pesticides and might have higher nutrient content. No matter which plums you select, wash them well before juicing. This ensures you get the pure taste and all the health benefits from your plum juice.
Keep in mind that seasonal plums are fresher and more likely to be at their peak. Seasonal availability varies, so adapt your juicing schedule accordingly. In summary, for the best plum juice, select ripe, fragrant, and organic if possible, and always wash your fruit thoroughly before juicing.
Essential Equipment for Plum Juicing
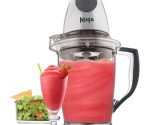
To start with plum juicing, you need the right equipment. A good quality juicer is a must. There are various types of juicers, but for plums, a masticating juicer works well. It extracts juice while retaining more nutrients. This type is efficient and quieter than others.
A large cutting board is also essential. Plums must be chopped before juicing, and a spacious board makes it easier. A sharp knife helps in cutting plums quickly and safely. Make sure to have a couple of large bowls as well. You’ll use them to hold your cut fruits and the leftover pulp.
Consider a fine-mesh strainer to ensure your juice is free from unwanted pulp and seeds. A large pitcher or jug is needed for storing the juice once made. Don’t forget about bottles or mason jars, if you plan to store juice for later.
Finally, a damp cloth or paper towels should always be on hand for clean-up. Juicing can get messy, and you’ll want to wipe up spills right away. With the right tools, making the perfect plum juicer recipe becomes a simple and enjoyable task.
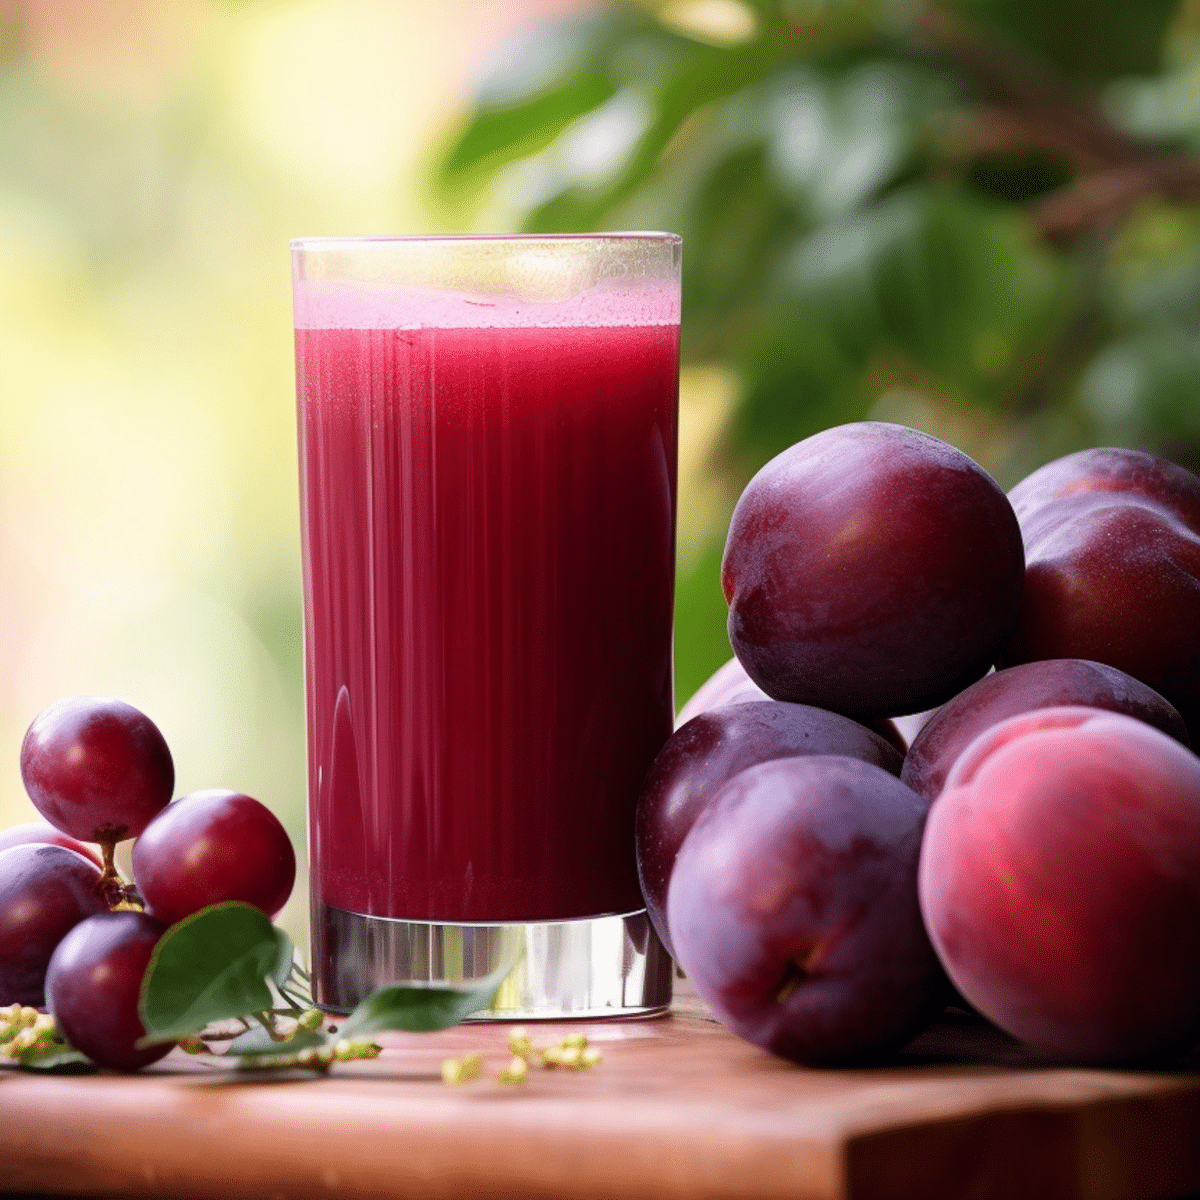
Classic Plum Juice Recipe
Creating a simple yet tasteful plum juice recipe is just a few steps away. Begin by gathering ripe, fragrant plums, as these yield the sweetest juice. For one serving of classic plum juice, you will need about five to six medium-sized plums. Here’s how to make a basic plum juice:
- Wash the Plums: Clean them under running water to remove any dirt or residues.
- Cut and Pit: Slice the plums in half and remove the pits. Careful cutting keeps fingers safe.
- Juice the Plums: Feed the plum halves into your juicer. A masticating juicer is ideal for plums.
- Strain the Juice: Use a fine-mesh strainer to remove excess pulp, if desired.
- Serve Fresh: Enjoy your juice right away for the freshest taste. Serve chilled for a refreshing touch.
Ensure your juicer is of good quality for the best extraction of plum juice. If you find the juice too thick, add a small amount of filtered water until it suits your preference. For a sweeter drink, a natural sweetener like honey or agave syrup can be mixed in. A splash of lemon juice can add a zing and balance the sweetness.
This classic recipe is just the beginning. Once mastered, you can experiment with different flavor combinations. Stick to the steps above for a delicious plum juice every time.
 Plum Juice Combinations for Enhanced Flavors
To elevate your plum juice experience, try mixing in other fruits or ingredients. You can pair sweet plums with tart ingredients for a balanced taste, or blend with milder flavors for a more subtle result. Here are some delightful plum juice combinations to enhance its flavor profile:
- Plum and Ginger: Adding a slice of ginger can give your juice a spicy kick and extra health benefits.
- Plum and Cinnamon: Sprinkle in some cinnamon for a warming, aromatic twist to the classic plum juice.
- Plum and Apple: Combine with apple juice for a natural sweetness and added freshness.
- Plum and Berry: Mix with the juice of strawberries, raspberries or blueberries for an antioxidant-rich drink.
- Plum and Citrus: Juicing with a bit of orange or lemon can brighten the flavor and provide a vitamin C boost.
- Plum and Carrot: Blend with carrot juice for a nutrient-dense, earthy taste contrast.
- Plum and Beet: Add beet juice for a vibrant color and a hearty dose of fiber and vitamins.
These combinations not only taste great but also bring unique health benefits to your glass. For instance, ginger aids digestion, cinnamon can regulate blood sugar levels, and citrus fruits strengthen the immune system. Experiment with these pairings or create your own to keep your juicing routine exciting and varied. Remember to start with small amounts of each additional ingredient and adjust according to taste.
Nutritional Boosters to Add to Your Plum Juice
To make your plum juicer recipe even more beneficial, consider adding nutritional boosters. These ingredients can enhance the health properties of your plum juice. Here are some power-packed add-ins:
- Chia Seeds: Sprinkle in chia seeds for a dose of omega-3 fatty acids and fiber.
- Spinach or Kale: Blend in some leafy greens for extra vitamins, minerals, and a green boost.
- Protein Powder: A scoop of protein powder can turn your juice into a satisfying post-workout drink.
- Flaxseed Oil: Add flaxseed oil for a heart-healthy addition rich in omega-3s.
- Turmeric: Put in a pinch of turmeric for its anti-inflammatory qualities.
- Honey: Sweeten with honey for its natural antioxidants and soothing properties.
- Greek Yogurt: Mix in Greek yogurt for a creamy texture and a hit of probiotics.
These ingredients not only increase the nutritional value but also can change the taste and texture for a varied juicing experience. When adding these boosters, start with small amounts. You can always adjust according to your taste preferences. Adding these can turn a simple juice into a more substantial, meal-like beverage. For those with specific dietary needs, select boosters that align with your health goals. As with any dietary changes, if you’re not sure, check with a healthcare professional. Get creative and enjoy crafting a nutrient-dense plum juice blend with these health-enhancing extras.
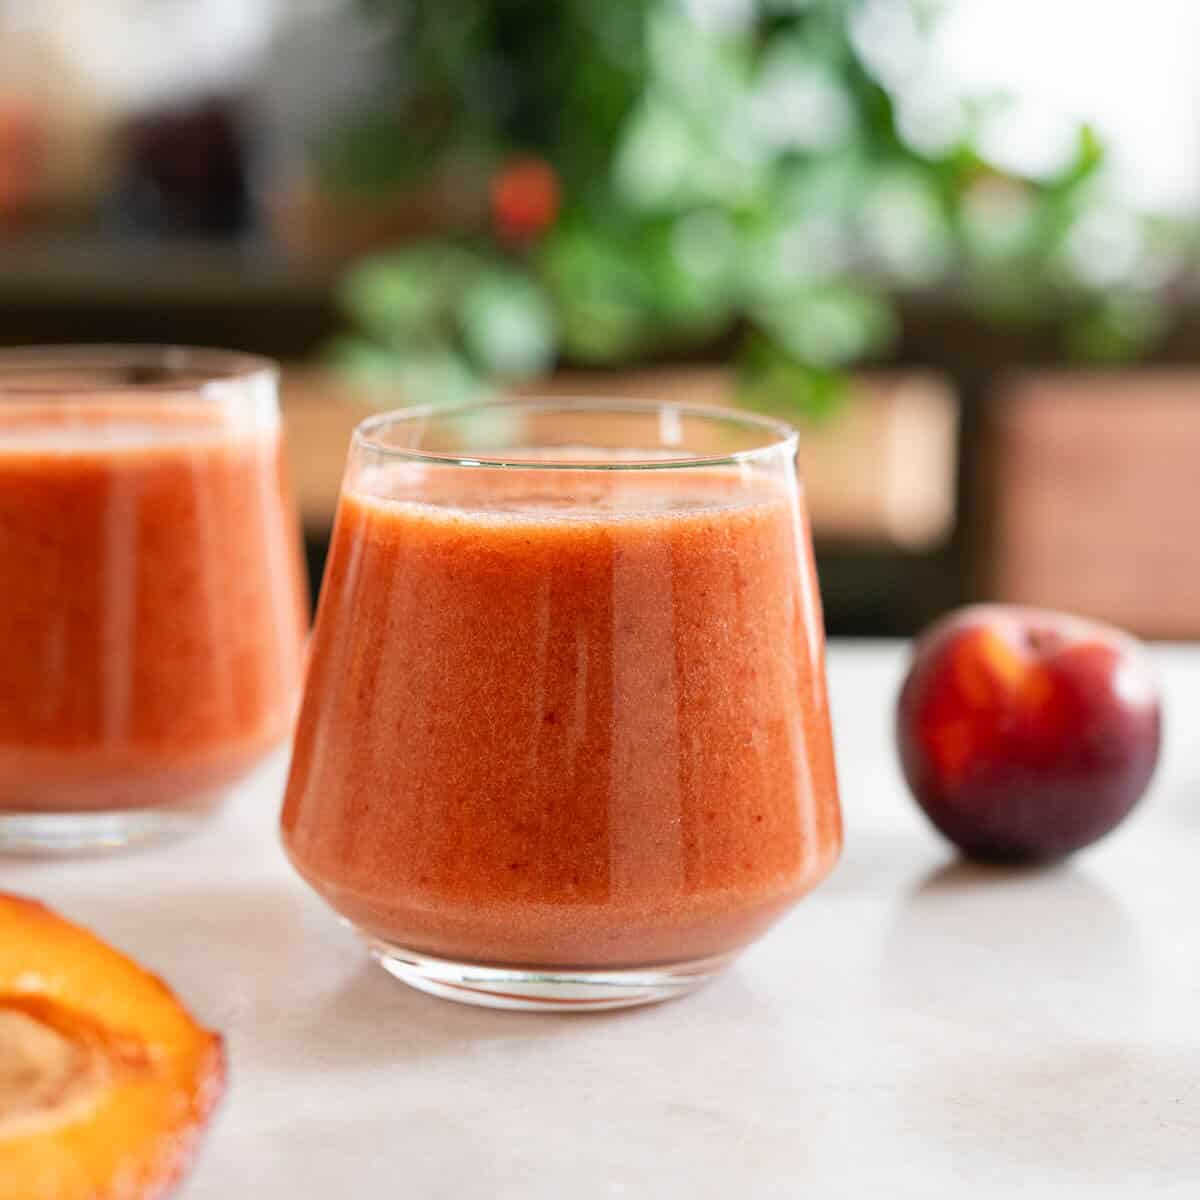
Creative Serving Suggestions for Plum Juices
After mastering the plum juicer recipe, it’s time to focus on presentation. Serving your homemade plum juice in creative ways can enhance the enjoyment. Here are some tips for serving your fresh plum juice that might impress your friends and family:
- Use Fancy Glasses: Serve your plum juice in highball or cocktail glasses for an elegant touch.
- Add Ice: Drop in some ice cubes to keep the juice chilled and refreshing.
- Garnish Wisely: Garnish with a slice of plum or a sprig of mint for a splash of color.
- Create Layers: Carefully pour in a mix with different densities to make a layered drink.
- Use it in Smoothies: Blend plum juice with bananas and yogurt for a nutritious smoothie.
- Make Popsicles: Freeze plum juice in molds to create healthy, fruity popsicles.
- Mix into Cocktails: Use plum juice as a mixer in cocktails that call for a fruity component.
- Offer as a Warm Drink: Warm the juice slightly and add a cinnamon stick for a cozy beverage.
Every serving suggestion is an opportunity to explore the versatility of plum juice. From casual refreshments to sophisticated drinks, these creative ideas showcase your plum juicer recipe in the best light. Remember to have fun and personalize your drink to suit the occasion or season.
Storing and Preserving Homemade Plum Juice
To keep your plum juice tasting great, store it properly. Here are simple tips for preserving your homemade plum juice:
- Refrigerate Immediately: Place your juice in the fridge right after making it. This helps keep it fresh.
- Use Airtight Containers: Store the juice in airtight bottles or jars to protect it from air and odors.
- Keep it Cold: Plum juice stays good for 3-4 days when refrigerated at a consistent temperature.
- Freeze for Longevity: If you want to keep it longer, pour the juice into an ice cube tray or freezer-safe container. This can extend its life for up to six months.
- Label with Dates: Mark the containers with the date you made the juice. It helps track freshness.
- Thaw Gradually: When ready to drink, thaw frozen juice in the fridge for a few hours for the best flavor.
By following these steps, your plum juice will remain delicious and nutritious. It’s a convenient way to savor the flavors of plum juice anytime. Remember to shake the container before serving, as separation may occur.