Juicing Beets Made Easy: A Step-by-Step Guide
Introduction to Beetroot Juicing
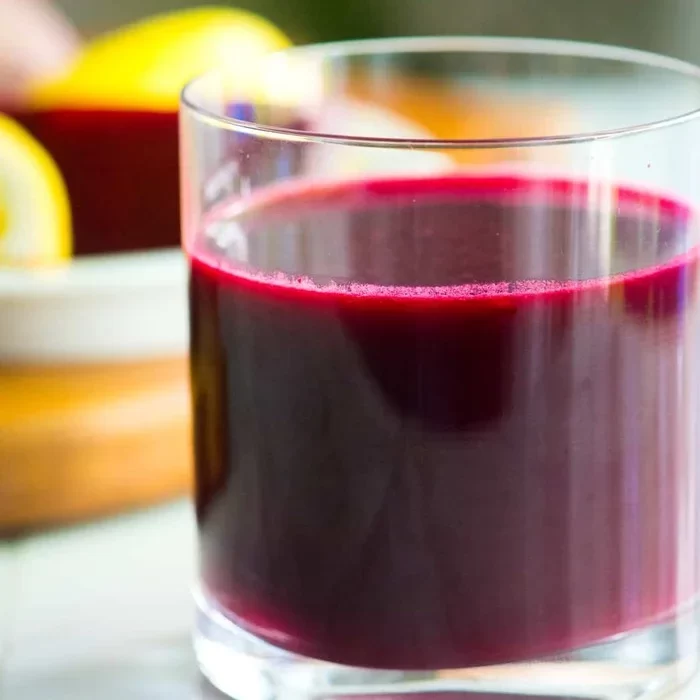
Beetroot juicing offers a nutritious boost to your daily diet. This vibrant root vegetable is full of vitamins, minerals, and antioxidants. Packed with goodness, juiced beets can support your health in many ways. Learning how to juice beets in a juicer is simple. We will guide you through every step.
Benefits of Beet Juice
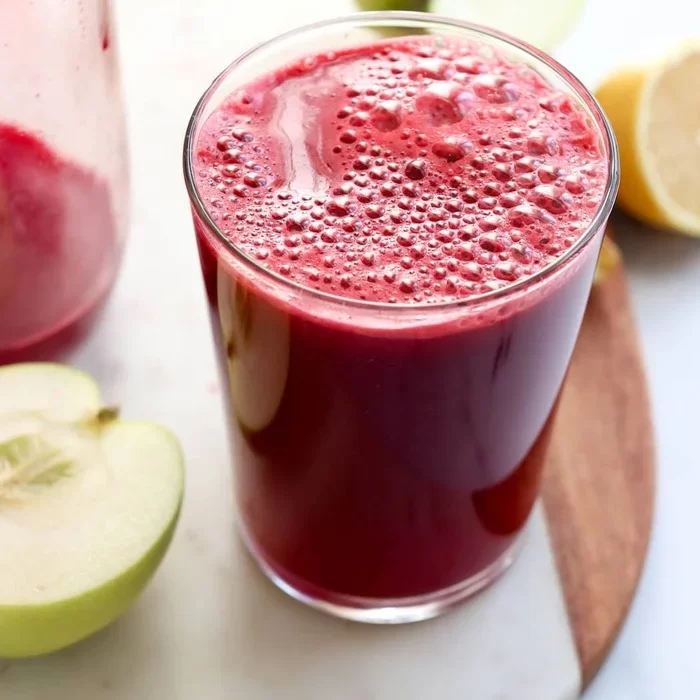
Beet juice is a powerhouse of nutrients. It is rich in fiber, folate (vitamin B9), manganese, potassium, iron, and vitamin C. Regular consumption can enhance your stamina and improve blood flow. Beet juice also helps in detoxifying your body and boosting your immune system. Including beet juice in your diet can support liver health, and the fiber enhances digestion.
Juicing vs. Blending: Which is Better for Beets?
When it comes to beets, juicing and blending both have pros and cons. Juicing extracts the liquid and leaves out the fiber, which results in a concentrated drink. On the other hand, blending includes the whole beet, thus retaining the fiber. Juicing is quicker and easier to digest, whereas blending is more filling. Deciding between the two depends on your personal health goals. For a nutrient-rich, easily absorbed beverage, juicing could be the preferable option.
Choosing the Right Juicer for Beets
Selecting the best juicer for making beet juice is crucial to achieving optimal results. Traditional blenders and food processors are generally not suitable for effectively extracting juice from beets. Instead, choosing a specialized juicer that can handle firm, fibrous vegetables like beets will make the process much smoother and yield better juice quality.
Types of Juicers for Beet Juice
There are primarily two types of juicers available in the market that are ideal for juicing beets: masticating and centrifugal juicers.
- Masticating Juicers: Also known as cold-press juicers, they operate at slower speeds, preventing heat build-up and oxidation. This feature helps preserve the nutrients and enzymes in beet juice. They are excellent at extracting juice from harder materials like beets.
- Centrifugal Juicers: These are the most common and affordable types. They work by spinning the beets at high speed to separate the juice from the pulp. Though faster, they might not be as efficient in extracting all the nutrients due to the rapid spinning which can introduce air and lead to oxidation.
What to Look for in a Juicer for Beets
When choosing a juicer specifically for beets, keep in mind the following key aspects:
- Power: A powerful motor ensures efficient juice extraction from hard, fibrous vegetables like beets.
- Speed Settings: Adjustable speed can handle different textures, offering flexibility depending on the type of produce.
- Chute Size: A wider chute reduces prep time as it requires less cutting of the beets into small pieces.
- Ease of Cleaning: Look for juicers that are easy to disassemble and clean, as beet juice can stain parts of the juicer.
- Durability: Strong build quality ensures that the juicer can regularly handle the task of juicing hard vegetables like beets.
Considering these factors will help you select a juicer that suits your needs, maximizing the health benefits of beet juice in your diet.
Preparing Beets for Juicing
Proper preparation of beets is essential for efficient juicing. This process enhances the quality of the juice and ensures you extract the maximum nutritional benefit. Preparing beets involves cleaning, peeling, and cutting them into appropriate sizes.
Cleaning and Peeling Beets
Begin by thoroughly washing the beets under cold running water to remove any dirt and pesticides. Use a vegetable brush if available. This is crucial as beets are root vegetables that grow underground and carry a lot of residue. After they are cleaned, peel the beets. Peeling is important as it removes the outer layer which might contain contaminants and can be tough. Use a good quality vegetable peeler or a sharp knife to make this process swift and safe.
How to Cut Beets for Juicing
Once your beets are clean and peeled, the next step is to cut them. Cutting the beets into smaller pieces helps them fit into the juicer chute and ensures an even, smooth juicing process. Use a sharp knife to cut the beets into halves or quarters, depending on their size. Keep the pieces uniform to facilitate consistent juicing. This preparation allows the juicer to extract the maximum amount of juice, leaving you with a nutrient-rich drink that supports your health goals.
The Juicing Process
Once you’ve prepared your beets, it’s time to begin the juicing process. Juicing beets yields a nutrient-dense beverage that can enhance your health. A consistent, methodical approach will ensure you get every drop of goodness from your beets.
Step-by-Step Beet Juicing Techniques
- Set Up Your Juicer: Ensure your juicer is clean and assembled correctly. Position it on a stable surface.
- Feed Beets into the Juicer: Start by placing the smaller beet pieces into the juicer. Push them down using the food pusher.
- Juice the Beets: Turn on the juicer and gradually increase the speed as needed. Juicers usually take a few minutes to process everything.
- Collect the Juice: Position a container or glass under the spout to catch the juice. Allow the juicer to run until the beet pieces are fully processed.
- Finish and Repeat: Once the first batch is done, you can add more pieces as needed. Continue until all your beets are juiced.
To ensure maximum juice output and nutritional value, conduct the process at a steady pace.
Tips to Maximize Juice Yield from Beets
- Chill Beets: Cold beets yield more juice. Store your beets in the fridge before juicing.
- Alternate Hard and Soft Pieces: Start with softer pieces then add harder ones. This technique helps push through the softer pieces more effectively.
- Run Pulp Through Again: After the initial juicing, run the pulp through the juicer again to extract any remaining juice.
- Take It Slow: Do not rush the juicing process. Slower juicing speeds reduce heat generation, preserving nutrients.
By following these techniques and tips, you’ll be able to efficiently use your juicer to make high-quality beet juice. This can contribute significantly to your diet, boosting both your stamina and immune system.
 Beet Juice Recipes
After mastering the art of juicing beets, it’s time to explore delicious beet juice recipes.
Simple Beet Juice Recipe
For a quick boost, try this uncomplicated recipe:
- Take 2 large beets and prepare them as mentioned above.
- Juice the beets, extracting their vibrant liquid.
- If the flavor is too intense, add water to dilute.
- Serve the juice immediately, or chill for a cooler taste.
This basic recipe is perfect for those new to beet juice or those who prefer pure beet flavor.
Creative Combinations with Beets
To mix things up, infuse your beet juice with other ingredients. Here are a few ideas:
- Beet and Carrot: Combine beets with carrots for a sweet, nutritious drink.
- Beet and Ginger: Add a ginger piece for a zesty kick and digestive aid.
- Beet and Apple: Pair beets with apples for a naturally sweetened treat.
- Beet and Citrus: Squeeze in orange or lemon juice for a tangy twist.
- Beet and Greens: Blend beets with spinach or kale for an extra health punch.
Experiment with these combinations to find your preferred flavors and boost your health regimen.
Storing Beet Juice
Once you’ve mastered how to juice beets in a juicer and have created your nutritious drink, proper storage is key to maintaining its freshness and nutritional value. Beet juice is best consumed soon after juicing, but if you need to store it, here are some best practices for preservation and storage that ensure your beet juice remains as beneficial as possible.
Best Practices for Preservation and Storage
- Keep it Cool: Store your beet juice in the fridge immediately after juicing. The cold temperature slows down the oxidation process, helping preserve the nutrients and flavor.
- Use an Airtight Container: Oxygen can degrade the quality of your juice, so storing it in an airtight container is essential. A glass jar with a tight lid is a suitable option.
- Fill to the Top: If possible, fill your container to the brim to reduce the amount of air inside. This helps minimize oxidation.
- Consume Quickly: Beet juice is best enjoyed within 48 hours of juicing. The longer it’s stored, the more nutrients it may lose.
- Consider Freezing: If you’re not planning to drink the juice within a couple of days, freezing is a viable option. Pour the juice into ice cube trays or freezer-safe containers. Frozen beet juice can be stored for up to six months.
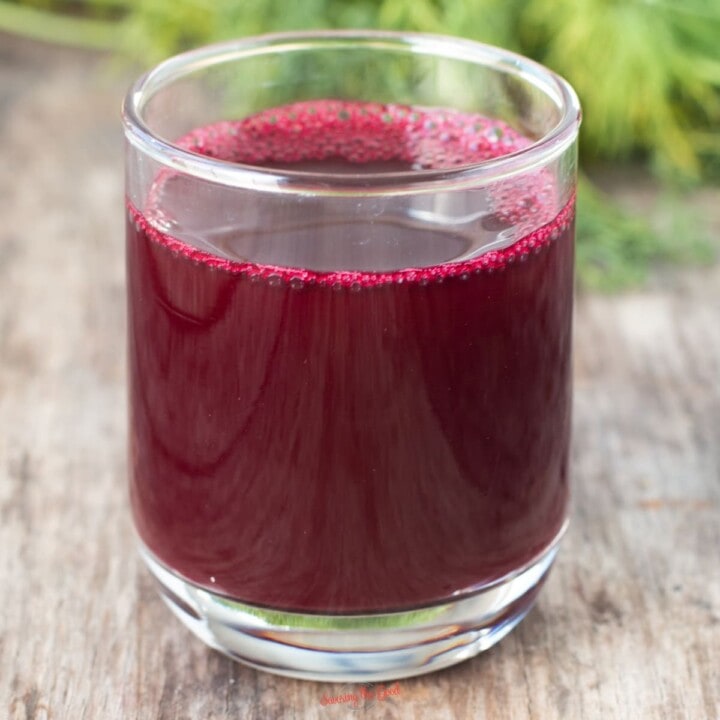
By following these straightforward storage tips, you can enjoy your homemade beet juice without losing the health benefits it provides. Remember, fresh is best, but with careful storage, your juice can remain a valuable part of your health routine for days to come.
 Cleaning Your Juicer Post-Juicing
After making your beet juice, cleaning the juicer is essential. A clean juicer will last longer and perform better. Beet juice can leave behind tough stains, so it’s important to clean promptly.
Step-by-Step Cleaning Guide
- Unplug the Juicer: Safety first. Always unplug the juicer before you start cleaning.
- Disassemble the Juicer: Take apart all the removable parts. This usually includes the chute, pulp container, and blade.
- Rinse Each Part: Run each piece under warm water to remove large debris and beet particles.
- Use Soap: Clean each part with a mild dish soap. Use a soft brush or sponge to avoid scratching.
- Clean the Filter: Filters can hold on to small bits. Soak the filter in hot water with soap for a few minutes then brush gently.
- Dry Everything: After washing, lay out the parts to air dry or use a clean towel.
- Reassemble the Juicer: Once all parts are dry, put your juicer back together.
- Wipe Down the Machine: With a damp cloth, wipe the outside of the juicer.
By following these steps, you ensure that your juicer stays hygienic and in top shape for your next juicing session.

