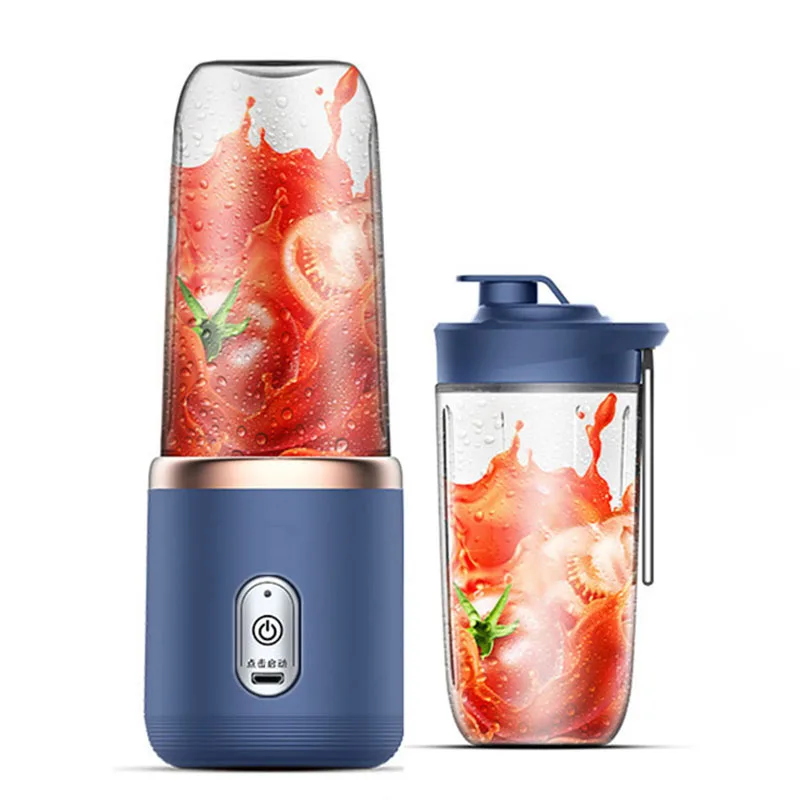
How to Clean a Juicer: A Comprehensive Guide
Juicing has become a popular health trend, providing an easy way to incorporate a variety of fruits and vegetables into our diets. While the benefits of fresh juice are well-acknowledged, one aspect often overlooked is the cleanup process that follows. Knowing how to clean a juicer is essential for maintaining its performance, longevity, and hygiene. In this extensive guide, we will detail the best methods, tips, and tools for effectively cleaning your juicer, ensuring that you always enjoy a fresh glass of juice without the hassle of dealing with stubborn residue.
Understanding the Importance of Cleaning Your Juicer
Preventing Bacterial Growth
Juicers often come into contact with various types of fruits and vegetables, which can leave behind residues that are prime environments for bacterial growth. Regular cleaning helps prevent the accumulation of harmful bacteria, ensuring that your juices remain safe to consume.
Enhancing Juice Flavor
Residual pulp and pulp oils can affect the taste of your juice, leading to a bitter or off flavor. By thoroughly cleaning your juicer, you remove these residues, allowing the natural flavors of your ingredients to shine through.
Prolonging Juicer Lifespan
Proper maintenance through regular cleaning can significantly extend the life of your juicer. Removing debris and keeping the components in good condition prevents wear and tear, reducing the likelihood of malfunctions or the need for costly repairs.
Tools and Supplies Needed for Cleaning
Before you begin the cleaning process, it’s essential to gather all necessary tools and supplies to ensure a smooth and efficient experience.
Essential Cleaning Tools
- Soft Brushes: Ideal for reaching tight spaces and removing stubborn residues.
- Sponges and Cloths: Useful for wiping down surfaces without scratching.
- Dish Soap: A mild detergent that effectively cleans without leaving a strong scent.
- Vinegar or Lemon Juice: Natural disinfectants that help eliminate odors and kill bacteria.
Optional Cleaning Aids
- Dishwasher (if compatible): Some juicer parts are dishwasher safe, making the cleaning process more convenient.
- Baking Soda: Excellent for tackling tough stains and eliminating odors.
- Silicone Brushes: Provide a more thorough cleaning for hard-to-reach areas.
Step-by-Step Guide: How to Clean a Juicer
Step 1: Disassemble the Juicer
Begin by unplugging your juicer to ensure safety. Carefully disassemble the machine by removing all detachable parts, including the pulp container, juice jug, and the chute where you feed in your fruits and vegetables. Refer to the manufacturer’s manual if you’re unsure about the disassembly process.
Step 2: Remove Pulp and Residue
Empty the pulp container and use a soft brush or cloth to remove any remaining pulp from the juicer components. Pay special attention to the mesh screens and the auger, as these areas tend to accumulate the most residue.
Step 3: Rinse the Parts
Rinse all detachable parts under warm running water to wash away loose pulp and juice. Use a gentle stream of water to prevent pushing debris further into the machine.
Step 4: Apply Dish Soap
Apply a small amount of dish soap to a soft brush or sponge and scrub each part thoroughly. Focus on areas with stubborn residues, such as the mesh screens and the auger, to ensure all pulp and oils are removed.
Step 5: Clean with Vinegar or Lemon Juice
For an extra level of cleanliness, wipe down the juicer parts with a cloth dampened with vinegar or lemon juice. These natural disinfectants help eliminate any remaining bacteria and neutralize odors.
Step 6: Rinse Thoroughly
After scrubbing, rinse each component thoroughly to remove all soap and cleaning agents. Ensure that no detergent residue remains, as this can affect the taste of your juice.
Step 7: Dry Completely
Use a clean, dry cloth or let the parts air dry completely before reassembling the juicer. Moisture can lead to mold growth and other hygiene issues, so it’s crucial to ensure everything is dry.
Step 8: Reassemble the Juicer
Once all parts are dry, carefully reassemble your juicer. Ensure that each component is correctly fitted to the main body of the appliance, following the manufacturer’s instructions.
Deep Cleaning Techniques for Juicers
Using Baking Soda for Stubborn Stains
Baking soda is a powerful, natural cleaner that can tackle tough stains and residues. Create a paste by mixing baking soda with water and apply it to the affected areas. Let it sit for a few minutes before scrubbing with a soft brush. Rinse thoroughly to remove all traces of baking soda.
Harnessing the Power of Vinegar
Vinegar is not only a natural disinfectant but also effective in dissolving mineral deposits and oily residues. Mix equal parts of vinegar and water and use this solution to wipe down the juicer parts. For built-up grime, allow the vinegar solution to sit for 10-15 minutes before scrubbing.
Lemon Juice for Freshness
Lemon juice adds a fresh scent to your juicer and helps break down any remaining residues. Wipe the juicer parts with a cloth soaked in lemon juice, focusing on areas that may retain odors. Rinse thoroughly to avoid any lingering lemon taste in future juices.
Dishwasher Cleaning: What You Need to Know
Determining Dishwasher Compatibility
Not all juicer components are dishwasher safe. Refer to your juicer’s manual to identify which parts can safely be placed in the dishwasher. Typically, detachable parts like the pulp container, juicing screens, and pitchers are dishwasher friendly, but always verify to prevent damage.
Proper Placement in the Dishwasher
Ensure that all dishwasher-safe parts are placed securely in the dishwasher to prevent them from moving around and getting damaged. Use the top rack for smaller components and avoid overcrowding to allow water and detergent to reach all surfaces effectively.
Hand Washing Non-Dishwasher Safe Parts
For components that are not dishwasher safe, follow the manual cleaning steps outlined earlier. This ensures thorough cleaning without risking damage to sensitive parts of your juicer.
Maintenance Tips to Keep Your Juicer Clean
Daily Cleaning Routine
After each use, disassemble the juicer and rinse all parts under warm running water to remove immediate residues. This prevents the buildup of pulp and makes deeper cleaning sessions easier.
Regular Deep Cleaning
Conduct a thorough cleaning of your juicer at least once a week, especially if you use it daily. This involves scrubbing all parts with dish soap and using natural cleaners like vinegar or lemon juice for a more intensive clean.
Inspecting for Wear and Tear
Regularly check all components of your juicer for signs of wear and tear, such as cracks, fraying cords, or loose parts. Addressing these issues early can prevent more significant problems and ensure your juicer operates efficiently.
Lubricating Moving Parts
Occasionally lubricate the auger and other moving parts with a food-safe lubricant to keep them functioning smoothly. This can reduce noise and wear, prolonging the life of your juicer.
Storage Practices
Store your juicer in a dry, cool place to prevent moisture-related issues. If parts are detachable, consider storing them separately to allow each component to dry completely before reassembly.
Troubleshooting Common Cleaning Issues
Persistent Odors
If your juicer retains unpleasant odors despite regular cleaning, try soaking the parts in a mixture of vinegar and water for an hour before cleaning. Alternatively, using baking soda can help neutralize stubborn smells.
Stubborn Residue on Screens
For residue that won’t come off with regular scrubbing, use a soft brush dipped in vinegar or lemon juice to gently break down the buildup. Avoid using abrasive materials that could damage the screens.
Whitening or Discoloration of Parts
Minor discoloration is normal over time, but significant whitening or staining may indicate more profound residue buildup. Use a baking soda paste to gently remove stains, ensuring you rinse thoroughly afterward.
Difficulty Reassembling the Juicer
If you encounter challenges reassembling your juicer, refer to the user manual for guidance. Ensure each part is aligned correctly, and don’t force components into place to avoid damage.
Best Practices for Long-Term Juicer Care
Avoiding Overloading
Don’t overload your juicer with too much produce at once. Feed ingredients in manageable portions to prevent straining the machine and making cleanup more difficult.
Using Appropriate Ingredients
Stick to juicing fruits and vegetables that are suitable for your juicer model. Avoid hard or fibrous items unless your juicer is designed to handle them, as these can contribute to excessive residue buildup.
Regularly Sharpening Blades
If your juicer has replaceable blades or augers, ensure they remain sharp for efficient juicing. Dull blades can cause excessive residue and make cleaning more challenging.
Scheduling Professional Maintenance
For high-end juicers, consider periodic professional maintenance checks. Technicians can perform deep cleans and address any mechanical issues, ensuring your juicer remains in optimal condition.
Eco-Friendly Cleaning Alternatives
Using Natural Cleaning Solutions
Opt for natural cleaning agents like vinegar, lemon juice, and baking soda to reduce your environmental footprint. These alternatives are biodegradable and safe for both your health and the planet.
Minimizing Water Usage
Be mindful of water usage by rinsing parts quickly and using minimal amounts of water during cleaning. Collect excess water for use in other household tasks, such as watering plants.
Reusable Cleaning Tools
Invest in reusable cleaning tools, such as silicone brushes and cloths, to reduce waste. Avoid disposable wipes or scrubbers that contribute to landfill waste.
Avoiding Harsh Chemicals
Steer clear of harsh chemical cleaners that can leave harmful residues on your juicer and pose health risks. Natural cleaners are just as effective and safer for your kitchen environment.
 Conclusion
Cleaning a juicer is an essential part of maintaining its functionality and ensuring that you continue to enjoy fresh, delicious juice. By understanding the different components, gathering the right supplies, and following a systematic cleaning process, knowing how to clean a juicer will become a straightforward task rather than a dreaded chore. Emphasizing routine practices and preventive maintenance will help keep your juicer in great shape for years to come. Remember, a clean juicer is just as important as fresh ingredients in achieving the best-tasting juice!

