How to Install a Range Hood with a Horizontal Vent Duct?
Introduction:
Installing a range hood with a horizontal vent duct is an essential task for maintaining a clean and odor-free kitchen. A properly installed range hood vents smoke, grease, and cooking odors outside your home, improving indoor air quality and preventing buildup on kitchen surfaces. This comprehensive guide will take you through the steps to install a range hood with a horizontal vent duct, ensuring a safe and effective installation.
How to Install a Range Hood with a Horizontal Vent Duct?
Understanding the Basics
Before diving into the installation process, understanding the basic components and requirements helps ensure a smooth installation.
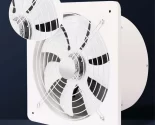
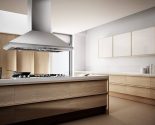
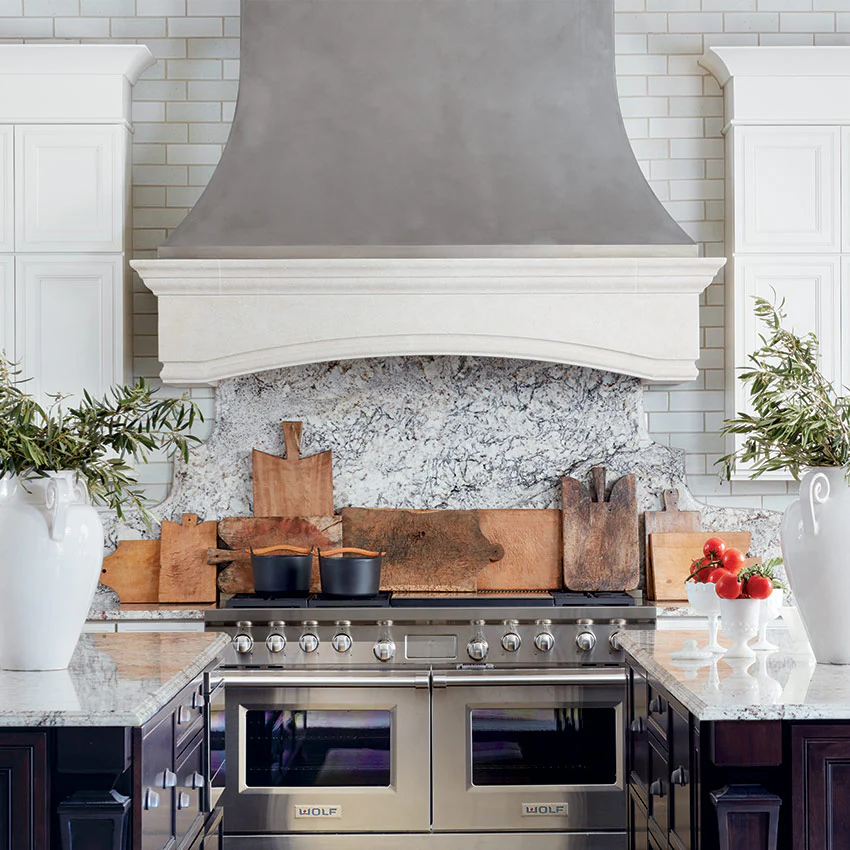
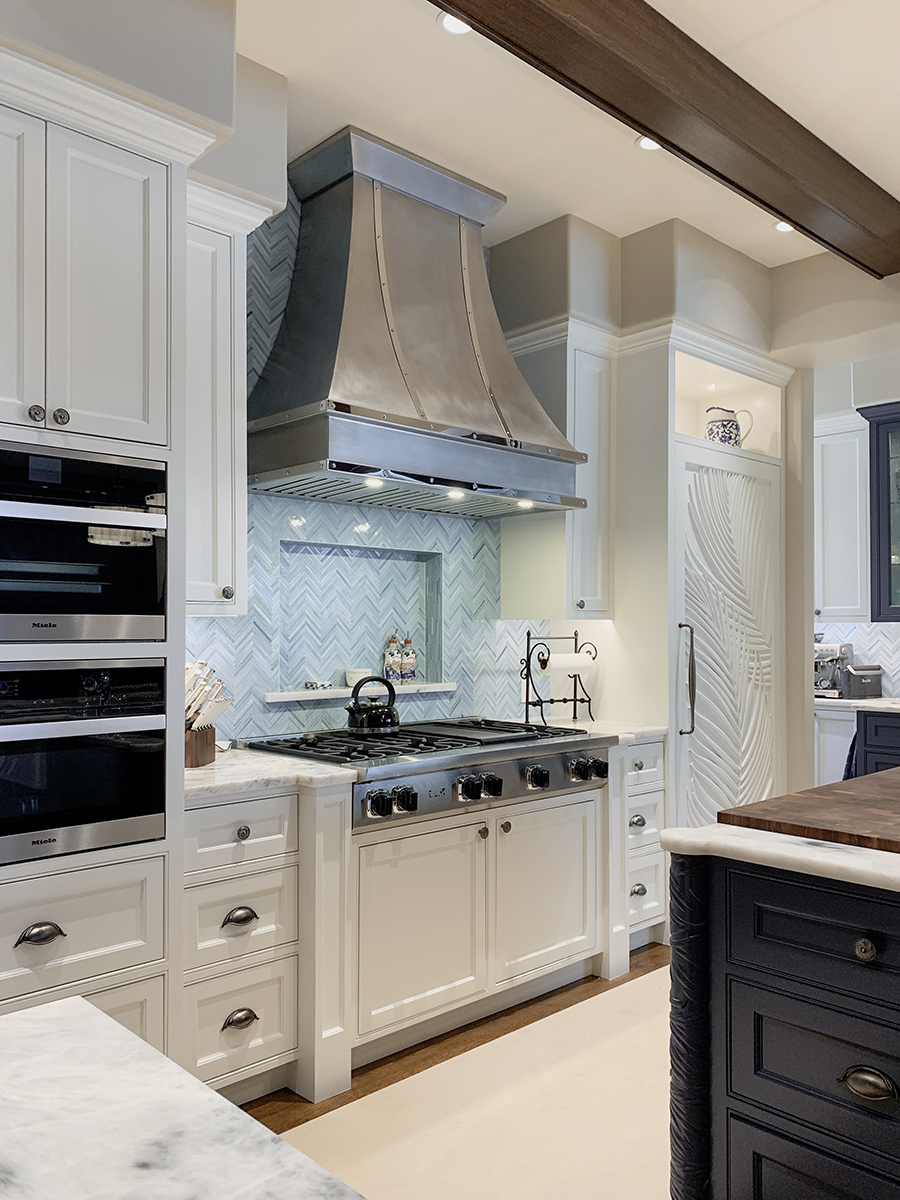
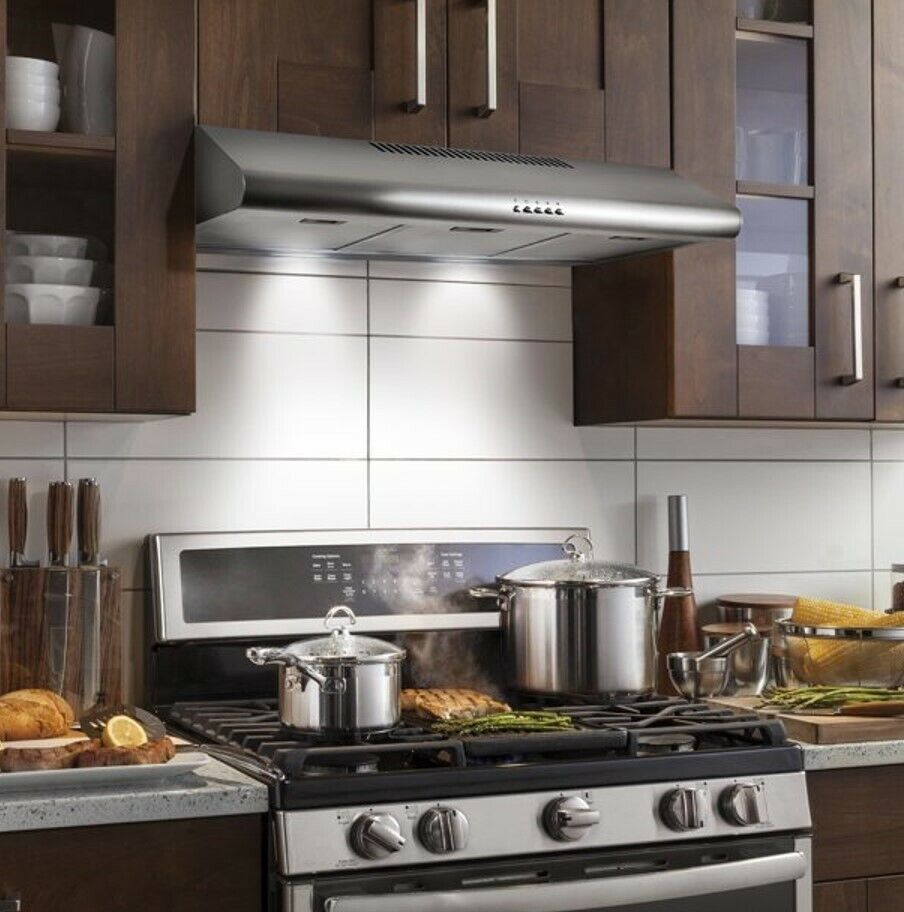
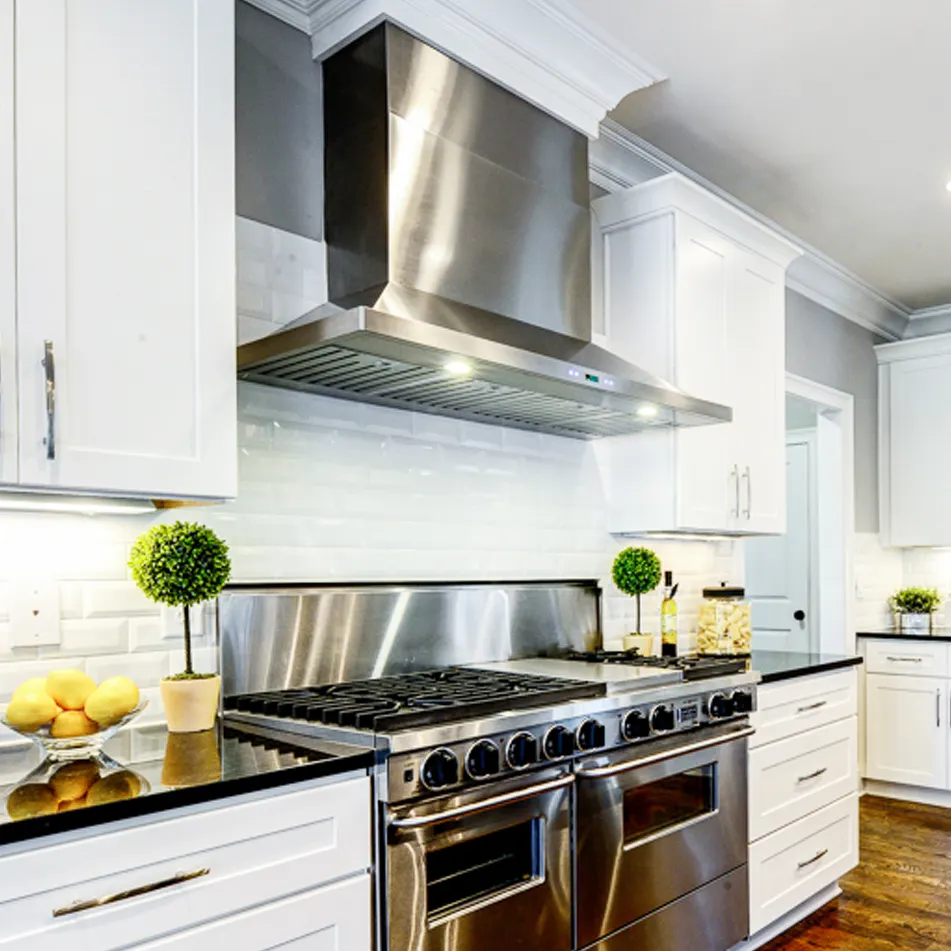
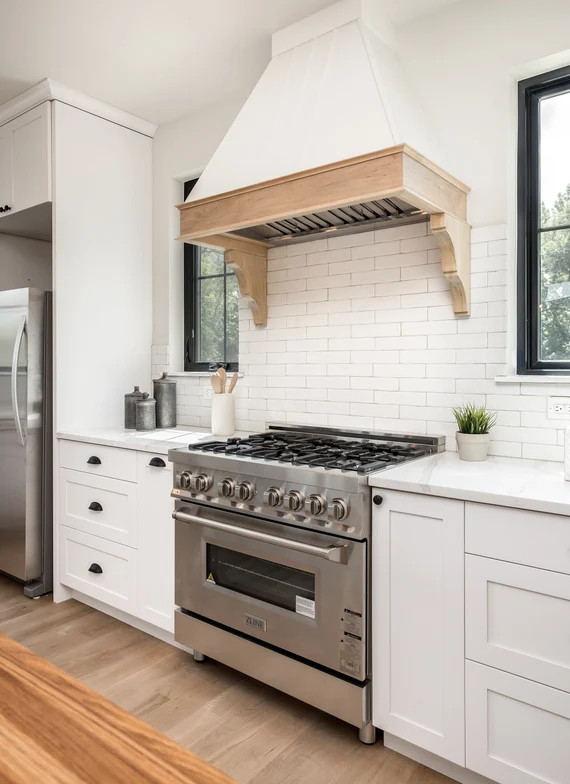
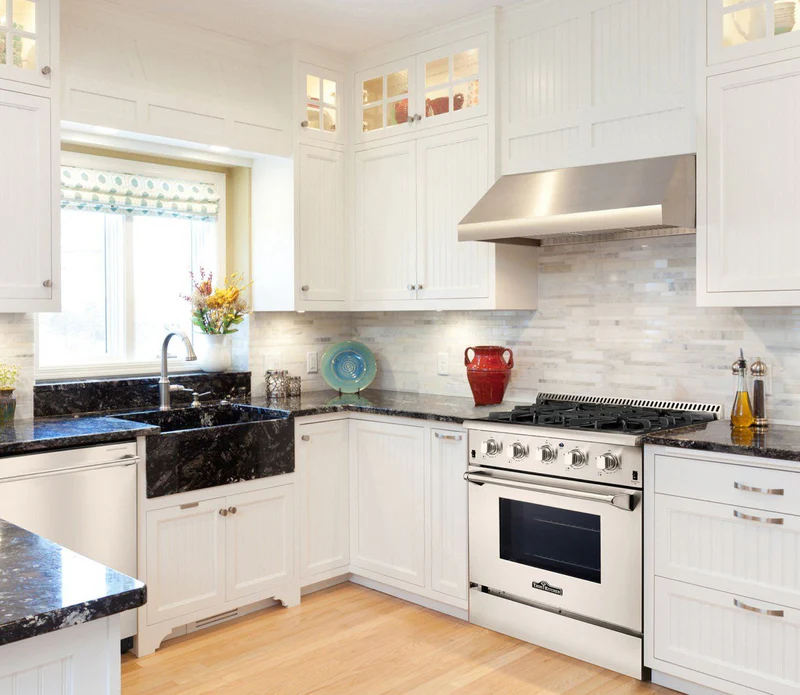
Range Hood Types: There are different types of range hoods, including under-cabinet, wall-mounted, island, and downdraft hoods. The choice of the hood affects the installation process, especially when considering ducting options.
Vent Duct Types: Range hoods can be vented either vertically through the roof or horizontally through an exterior wall. This guide focuses on horizontal venting, which involves running the ductwork through an exterior wall.
Ventilation Requirements: Ensure your vent duct meets the size and material requirements specified by the range hood manufacturer. Typically, ducting should be made from rigid metal like galvanized steel or aluminum, and the diameter should match the hood’s vent outlet.
Tools and Materials Needed: Gather the necessary tools and materials, including a measuring tape, level, drill, jigsaw, screwdriver, duct tape, sealing supplies, and the vent duct kit. Having everything on hand speeds up the installation process.
Preparing the Space
Proper preparation of the installation area is crucial for a successful installation. Here’s how to prepare your space effectively.
Measure and Mark: Measure the location where you plan to install the range hood and mark the centerline. Ensure the hood is centered over the cooking surface and at the recommended height, typically 24-30 inches above the cooktop or range.
Turn off Power: Before starting any installation work, turn off the electrical power to the range hood circuit at the main breaker panel. This ensures safety while working with electrical connections.
Remove Obstacles: Clear any obstacles in the installation area, including cabinets or shelves. If you’re replacing an old range hood, remove it along with any old vent ductwork.
Check for Studs and Joists: Use a stud finder to locate wall studs and ceiling joists. Mark their positions, as you will need to secure the range hood and vent duct to these structural elements.
Creating the Vent Opening
Creating an opening for the horizontal vent duct is a critical step in the installation process. Precision and care are essential to avoid damaging your home’s structure.
Locate the Exit Point: Identify the exact exit point on the exterior wall where the vent will pass through. Ensure the spot is free from obstructions like electrical wires, pipes, and framing.
Drill Pilot Holes: Drill small pilot holes from the inside to mark the vent’s exit location on the exterior wall. These holes serve as guides when cutting the larger opening.
Cut the Interior Opening: Use a jigsaw or reciprocating saw to cut the vent opening through the interior wall. Follow the manufacturer’s recommendations for the vent duct size and shape.
Cut the Exterior Opening: Go outside and use the pilot holes as a guide to cut the exterior wall opening. If your home has siding, be extra cautious to avoid cracking or damaging the material. Use a utility knife to clean up the edges of the cut if necessary.
Install the Exterior Vent Cap: Attach the exterior vent cap to the exterior wall, ensuring it covers the opening completely. Secure it with the provided screws and apply a bead of exterior-grade caulk around the edges to prevent water infiltration.
Running the Ductwork
Installing the ductwork is a crucial part of ensuring that your range hood vents air efficiently and safely. Follow these steps to properly run and secure the vent duct.
Connect Duct Sections: Assemble the duct sections, ensuring that the connections fit snugly without gaps. Use aluminum tape or duct clamps to secure the joints and prevent air leaks. Avoid using standard duct tape, as it may degrade over time.
Route the Duct: Run the duct from the range hood to the exterior vent cap with minimal bends. Each bend can reduce efficiency, so aim for a straight, direct path. If bends are necessary, use gradual elbows designed for ducting to maintain airflow.
Secure the Duct: Attach the duct to wall studs or ceiling joists using duct straps or brackets. This prevents the duct from sagging and ensures it stays securely in place. Ensure the duct is properly aligned with the range hood’s vent outlet.
Seal Connections: Use aluminum duct tape to seal all joints and connections along the ductwork. Proper sealing prevents air leaks, maintaining the efficiency of the venting system.
Insulate the Duct (if necessary): If you live in a climate with extreme temperatures, consider wrapping the duct with insulation tape or sleeves. This prevents condensation inside the duct during heating or cooling cycles.
Installing the Range Hood
Attaching and securing the range hood to the wall or under a cabinet is a critical step in the installation process. Follow these guidelines for a secure and stable installation.
Attach Mounting Bracket: If your range hood includes a mounting bracket, attach it to the wall or cabinet using screws. The bracket provides a stable base for hanging the hood. Ensure it is level and securely fastened to wall studs or cabinet framing.
Position the Range Hood: With the help of a friend or a temporary support, position the range hood on the mounting bracket or directly against the wall. Ensure it aligns with the pre-cut duct opening and the marked centerline.
Secure the Range Hood: Use screws to secure the range hood to the wall, mounting bracket, or cabinet. Check for level alignment and adjust if necessary before tightening the screws completely.
Connect the Duct: Attach the duct to the range hood’s vent outlet. Secure the connection with a clamp or aluminum tape to ensure an airtight seal. Double-check that the ductwork is aligned and properly connected without any gaps.
Making Electrical Connections
Proper electrical connections ensure that your range hood operates safely and efficiently. Here’s how to connect the wiring correctly.
Access the Electrical Box: Locate the range hood’s electrical box, usually found on the top or back of the unit. Remove the cover to expose the wiring connections.
Connect Wires: Match the range hood wires to the corresponding wires from the house circuit—typically black to black (hot), white to white (neutral), and green or bare to green or bare (ground). Use wire nuts to secure the connections, and ensure no exposed wires are visible.
Secure the Electrical Box: After making the connections, tuck the wires neatly into the electrical box. Replace the cover to protect the wiring.
Test the Power: After completing the electrical connections, restore power at the main breaker panel. Test the range hood to ensure the fan and lights operate correctly. If there are any issues, double-check the wiring connections and consult an electrician if necessary.
Final Adjustments and Testing
Making final adjustments and testing the system ensures that your range hood installation is complete and functional.
Check for Air Leaks: Inspect all duct connections and joints for air leaks. Re-seal any loose connections with aluminum duct tape to ensure efficient venting.
Test the Fan: Run the range hood fan at different speeds to ensure smooth operation and adequate airflow. Listen for any unusual noises that could indicate loose parts or misalignment.
Test the Lights: Ensure the range hood lights function correctly. Replace any faulty bulbs or fixtures as needed.
Inspect the Exterior Vent: Go outside and check that the exterior vent cap is securely attached and that the damper opens and closes freely. This prevents backdrafts and ensures proper exhaust.
Regular Maintenance
Maintaining your range hood and ductwork ensures long-lasting performance and effective ventilation. Implement a regular maintenance routine to keep everything in good working order.
Clean the Filters: Regularly clean or replace the range hood filters according to the manufacturer’s recommendations. Grease and charcoal filters need routine cleaning to maintain optimal performance.
Inspect the Ductwork: Periodically inspect the ductwork for any signs of damage, blockages, or loose connections. Clean the ducts as needed to prevent grease buildup and obstructions.
Check the Fan and Motor: Listen for any changes in the sound of the fan during operation. Unusual noises can indicate issues with the motor or fan blades that may need attention.
Clean the Exterior Vent: Ensure the exterior vent cap remains clear of debris and that the damper functions correctly. Regular exterior cleaning prevents blockages and maintains airflow efficiency.
Safety Considerations
Safety is paramount when installing and maintaining a range hood. Consider these safety tips to ensure a secure installation.
Wear Protective Gear: Use safety goggles, gloves, and a dust mask while cutting openings, handling ductwork, and working with electrical connections.
Follow Manufacturer’s Guidelines: Adhere strictly to the range hood manufacturer’s installation instructions and guidelines. They provide specific requirements and safety recommendations for your particular model.
Use Proper Tools: Utilize the correct tools for each task to ensure precision and prevent injuries. Improper tools can lead to mistakes and accidents.
Seek Professional Help: If you are unsure about any part of the installation process, consult a professional electrician or HVAC technician. Professional assistance ensures the installation meets safety standards and performs optimally.
Conclusion
Installing a range hood with a horizontal vent duct significantly improves kitchen air quality by efficiently removing smoke, grease, and odors. By understanding the basics, properly preparing the space, creating accurate vent openings, running the ductwork correctly, making secure electrical connections, and performing final adjustments, you ensure a successful installation. Regular maintenance and adherence to safety considerations further enhance the longevity and effectiveness of your range hood system. Following this comprehensive guide, you can achieve a clean, well-ventilated kitchen, enhancing your cooking experience and maintaining a healthier home environment.