Mastering Your Breville Juicer: Step-by-Step Guide
Unboxing and Setting Up Your Breville Juicer
Excitement builds as you unbox your new Breville juicer. It’s the first step to making fresh, nutritious juices at home. Here’s what you need to know to get started right away.
What’s in the Box?
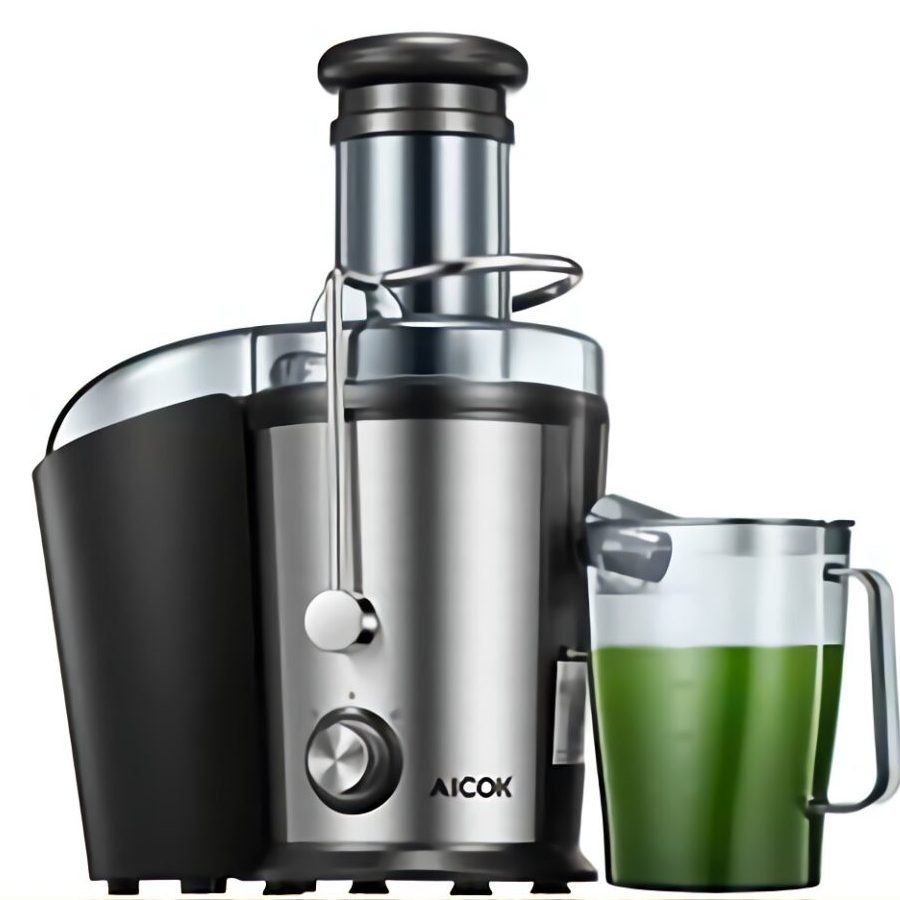
Open the box and take out all the parts. You’ll find the main juicer unit, a juice jug for collecting your tasty creations, and a pulp container for the leftovers. There will be various removable parts like the feed chute, filter basket, and blade assembly. Also, look for the cleaning brush, designed to help maintain your juicer. Make sure to check for the user manual, often full of helpful breville juicer instructions.
Initial Setup and Assembly
Start by placing the juicer on a stable, flat surface. Ensure it’s near an electrical outlet for easy power access. Assemble by following the user manual. It usually involves attaching the pulp container first, then the filter basket, and finally, the lid with the feed chute. Lock it in place, if your model requires it. Plug the juicer in, and you’re now all set to start juicing. Following these breville juicer instructions for setup will ensure a smooth start to your juicing journey.
Familiarizing Yourself with the Parts of Your Juicer
Before mastering the art of juicing, it’s crucial to understand your Breville juicer’s anatomy. Knowing each part’s role ensures you’re using it to its full potential.
Key Components and Their Functions
Your Breville juicer is a complex machine with several key components. Let’s break down their functions:
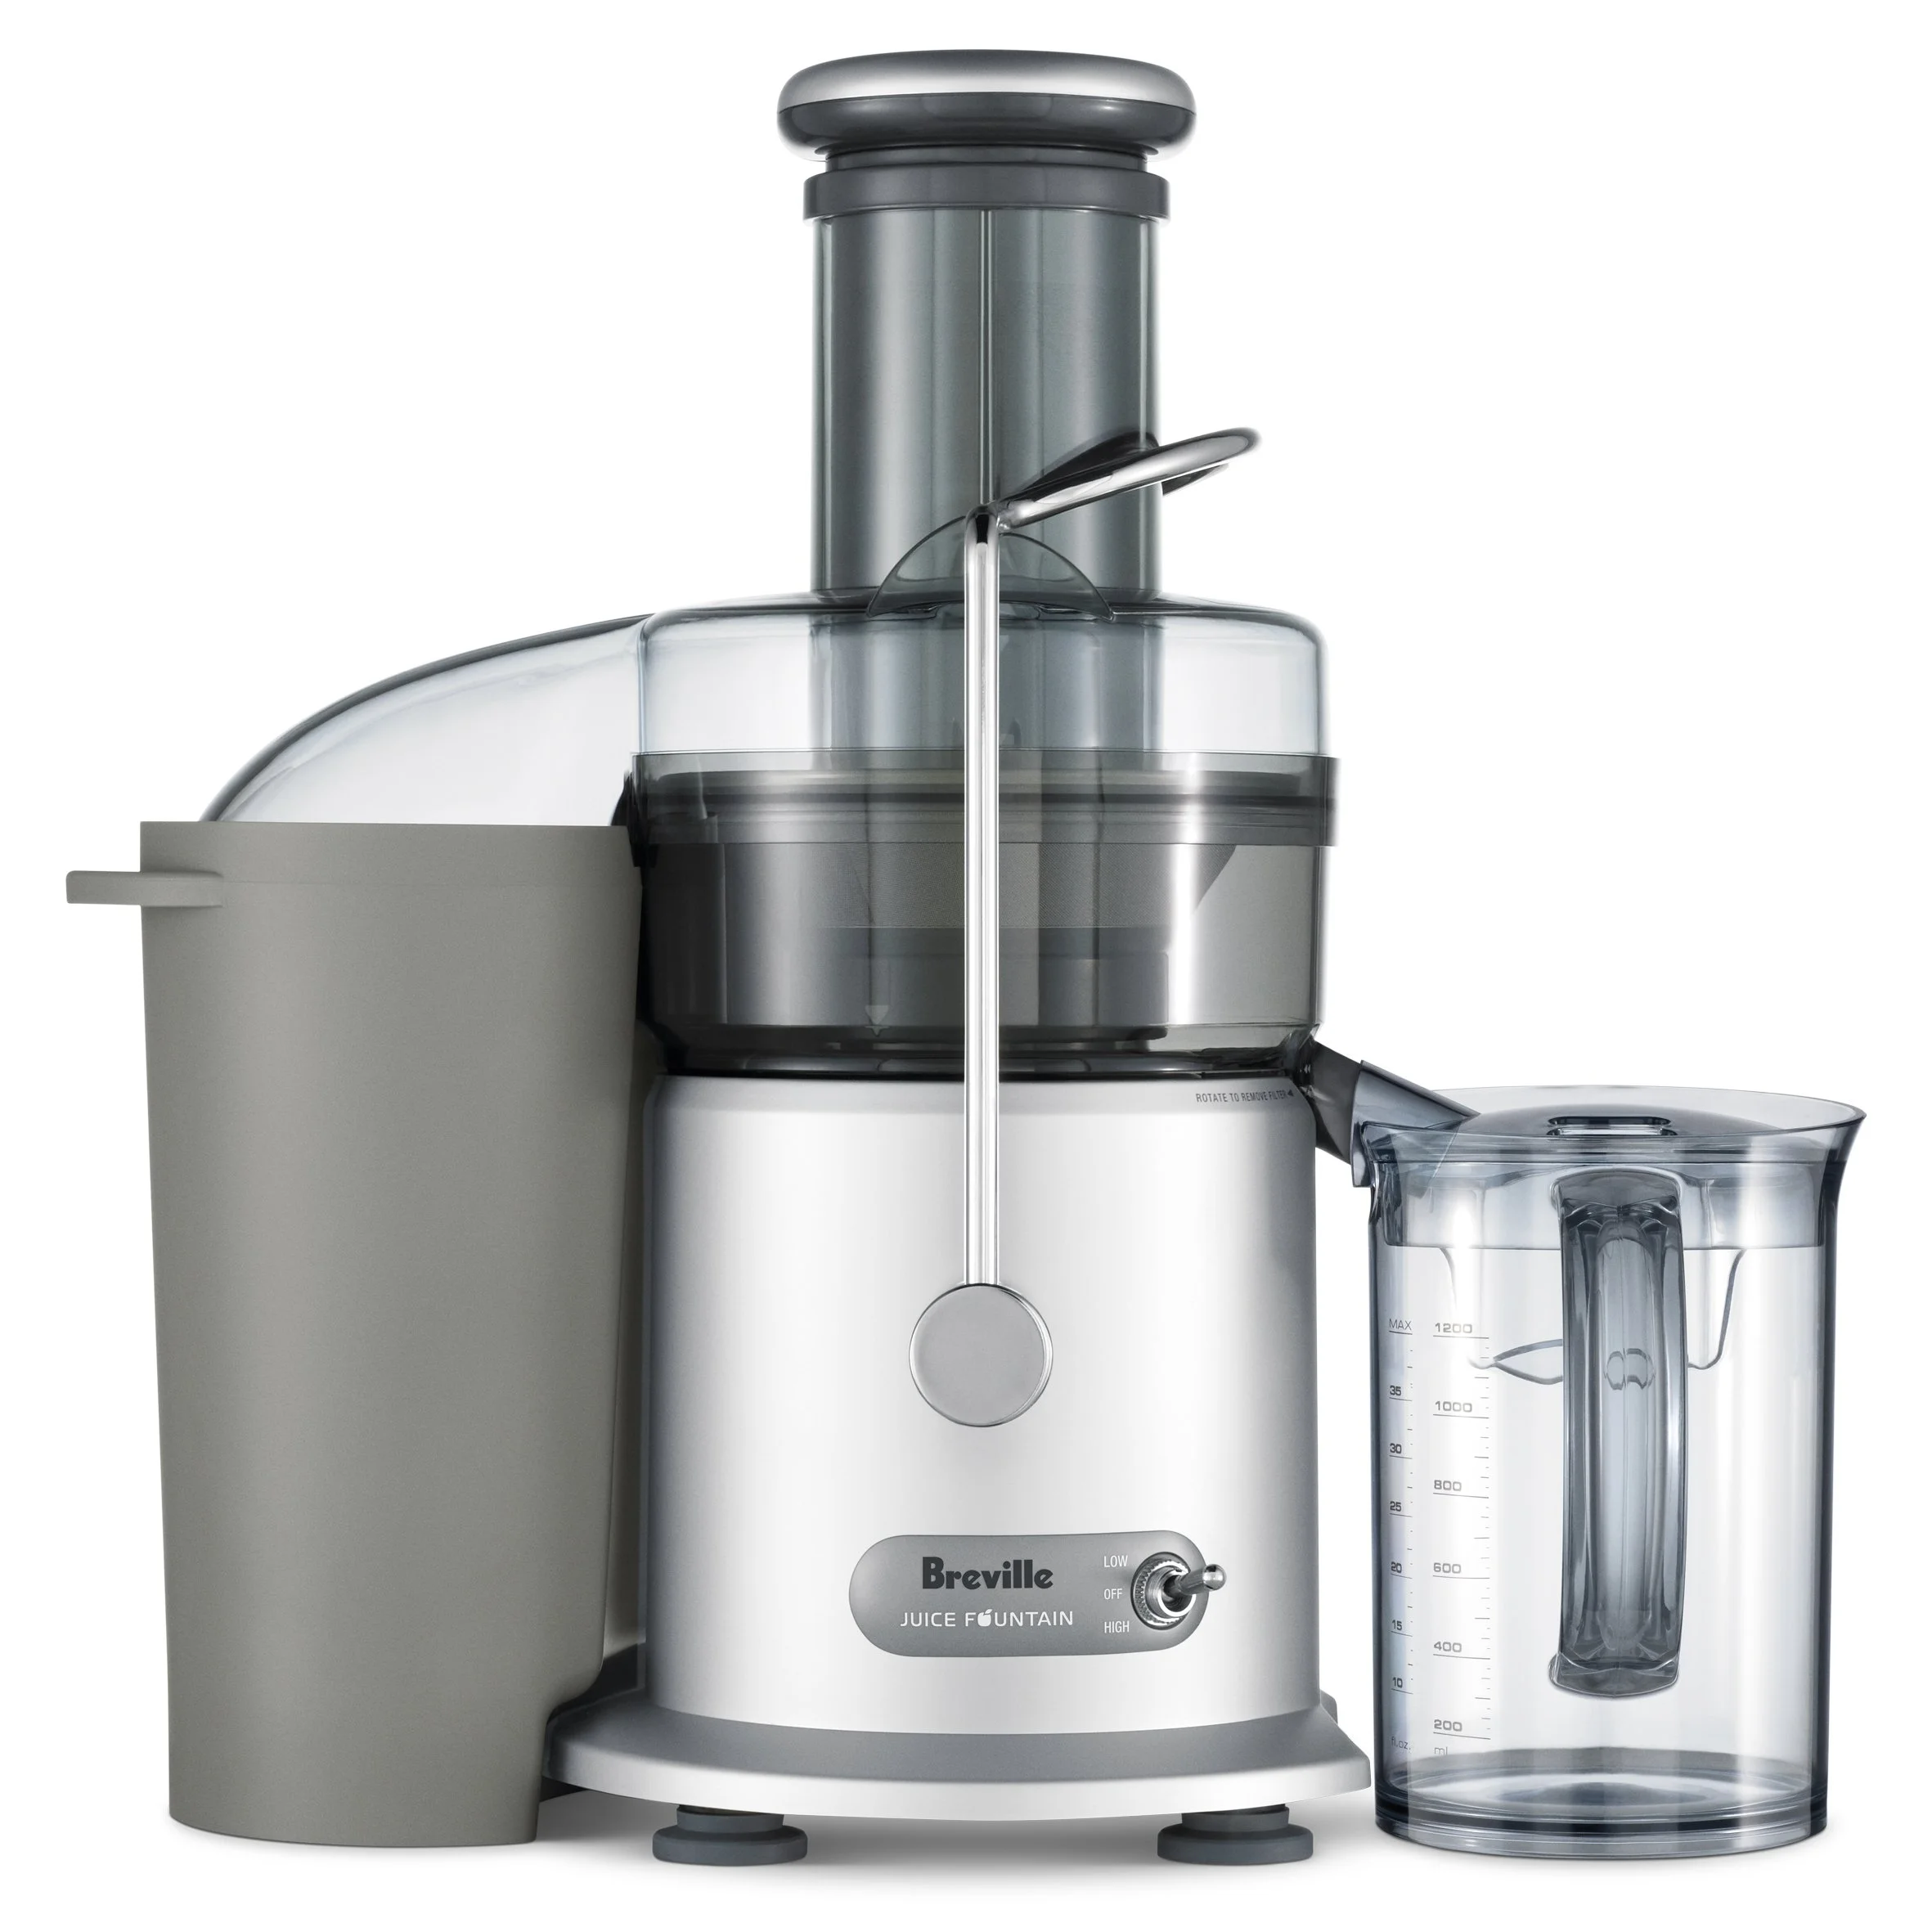
- Main Juicer Unit: This is the body of your juicer. It houses the motor and controls.
- Juice Jug: This container catches your fresh juice. It’s positioned below the spout.
- Pulp Container: After extracting the juice, the pulp collects here.
- Feed Chute: Here is where you insert fruits and veggies. Its wide design helps fit larger pieces.
- Filter Basket: It separates the juice from the pulp. It spins fast to do its job.
- Blade Assembly: These blades cut and shred produce. They sit inside the filter basket.
- Cleaning Brush: Use this tool to clean hard-to-reach spots, especially in the filter basket.
Familiarizing yourself with these parts ensures ease of use. Follow these breville juicer instructions for a seamless experience every time you juice.
The Juicing Process
Preparing Fruits and Vegetables
To start your juicing journey, proper preparation of fruits and vegetables is key. Here’s how to prepare them:
- Wash Produce: Rinse all fruits and veggies under running water to remove any dirt or pesticides.
- Cut If Needed: Chop large items to fit the feed chute. Small items go in whole.
- Remove Pits and Seeds: Take out any hard pits or large seeds that could damage the blades.
- Peel Selectively: Peel produce with bitter skins. Others, like apples, can be juiced with their skin.
These steps ensure your Breville juicer runs smoothly and you get the best taste.
Juicing Techniques for Maximum Yield
For the best juice yield from your Breville juicer, follow these techniques:
- Alternate Produce: Mix hard and soft textures to help push ingredients through.
- Juice Slowly: Give your juicer time to extract as much juice as possible.
- Pack Leafy Greens Tightly: Roll them up or bundle them before juicing to get more juice.
Using these breville juicer instructions boosts your juice yield and enhances your drink’s flavor.
Cleaning and Maintenance Tips
Maintaining your Breville juicer is essential for its longevity and performance. Regular cleaning and maintenance help preserve its condition, ensuring that you can continue to enjoy nutrient-rich juices every day.
Daily Cleaning Routine
After each juicing session, follow these simple breville juicer instructions for daily cleaning:
- Turn Off and Unplug: Safety first. Always turn off and unplug your juicer before cleaning.
- Disassemble Removable Parts: Take apart the removable parts including the pulp container, filter basket, and blade assembly.
- Rinse Immediately: Right after use, rinse the parts under running water to prevent pulp from drying and sticking.
- Use the Cleaning Brush: The brush that came with your juicer is perfect for scrubbing the filter basket and other areas where pulp may collect.
- Wipe the Main Unit: With a damp cloth, clean the outside of the main juicer unit to keep it looking good.
- Air-Dry Components: Before reassembling, let all parts air-dry completely to prevent mold and odors.
Deep Cleaning Sessions
Occasionally, your Breville juicer will require a more thorough cleaning. Here’s how to conduct a deep clean:
- Soak Parts in Warm Water: Let the removable parts sit in warm soapy water for a few minutes to loosen any stuck-on pulp.
- Use a Soft Brush or Cloth: Gently brush or wipe the parts, paying special attention to the mesh filter basket, as it can trap tiny particles.
- Check for Residue: Inspect for any leftover residue and repeat the soaking if necessary.
- Reassemble Properly: Once everything is clean and dry, put your juicer back together, ensuring all components are correctly installed.
Regularly following these breville juicer instructions for cleaning will reduce wear and tear and can help prevent future issues with performance.
 Troubleshooting Common Issues
Even the best juicers can run into problems, but don’t worry—many issues have simple fixes. Use this guide to troubleshoot common dilemmas with your Breville juicer.
Quick Fixes for Frequent Juicer Problems
1. Issue: Juicer Won’t Start
- Check the power outlet and plug.
- Make sure you’ve assembled all parts correctly, as per breville juicer instructions.
- Ensure the safety locking arm is in place.
2. Issue: Pulp Too Wet
- Juice at a slower pace to maximize extraction.
- Alternate between soft and hard produce.
- If needed, re-juice the pulp.
3. Issue: Juicer Vibrates Excessively
- Stop the unit. Make sure the base is on a flat surface.
- Check that the blade assembly is secure.
- Distribute produce evenly in the feed chute.
4. Issue: Clogged Filter Basket
- Turn off the juicer and unplug it.
- Use the provided cleaning brush to remove blockages.
- Soak the basket in warm water if needed.
Problem: Juice Leaks from the Juicer
- Ensure the juice jug is properly positioned.
- Tighten any loose parts, following your breville juicer instructions.
- Check for and replace any worn-out seals or gaskets.
By keeping these breville juicer instructions in mind, you can address most issues swiftly and keep your juicing sessions running smoothly. Remember, regular maintenance like the cleaning tips covered earlier can help prevent many of these common problems.
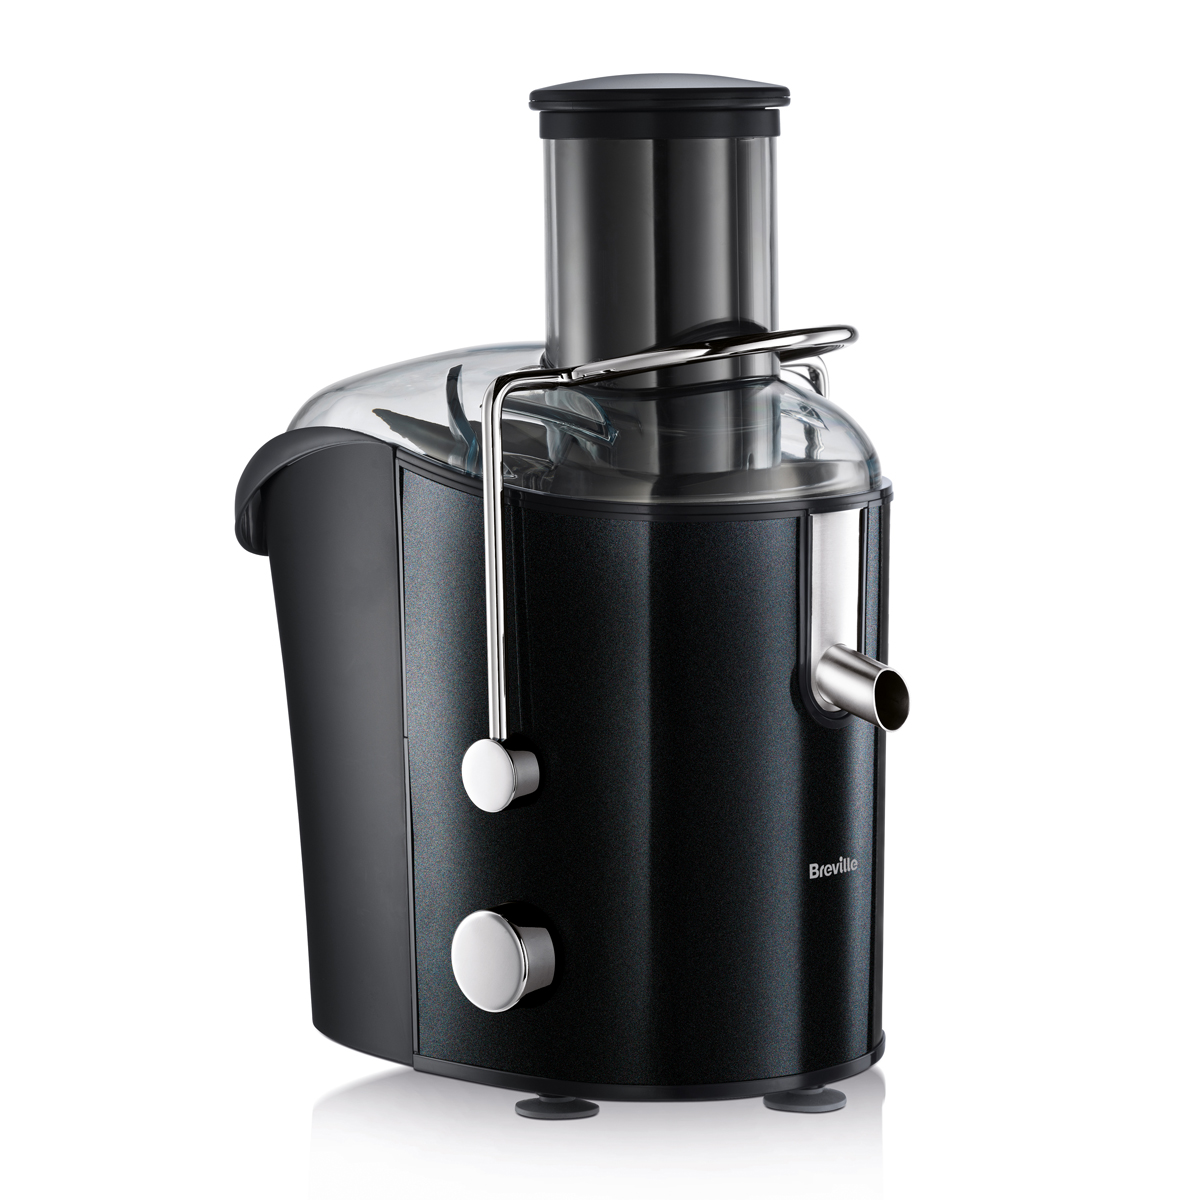
Breville Juicer Models and Features Comparison
When it comes to finding the right juicer, Breville offers a variety of models. Each model has unique features tailored to different juicing needs. Let’s compare some of the popular Breville juicer models and their standout features.
Understanding Different Models and Their Unique Features
Breville’s range includes models from simple, compact juicers for beginners to more advanced, powerful machines. Knowing the unique features of each can help you choose the right one.
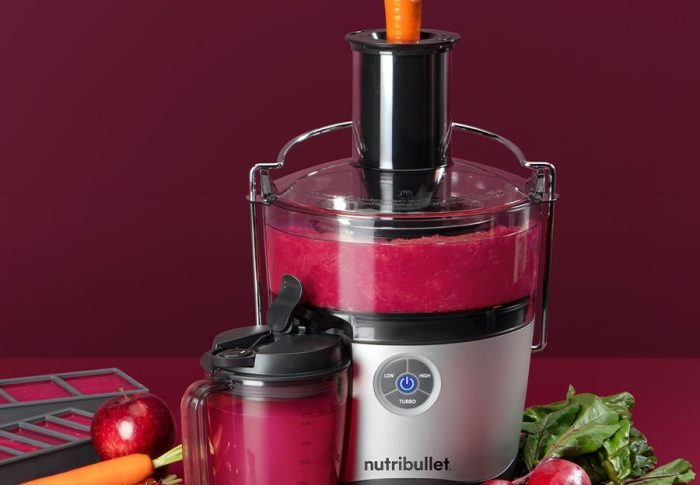
- The Compact Juicer: Ideal for small kitchens, this model is easy to store and perfect for those new to juicing.
- The Fountain Series: These are designed for high-speed juicing, perfect for busy individuals. They come with larger feed chutes, which means less prep time.
- The Multi-Speed Juicer: For the more health-conscious user, this juicer adjusts speed to maximize juice yield from various ingredients.
- The Cold Press Juicer: This model is great for preserving nutrients with a slower juicing process, suitable for the wellness enthusiast.
- The Elite Series: Offering multiple features, such as wider feed chutes and heavy-duty motors, these are for those who juice frequently and in large quantities.
By studying the different models and their features, you can find a Breville juicer that fits your lifestyle. Whether you’re aiming for quick juice-making or seeking maximum nutrition, there’s a Breville designed for your juicing journey. Keep in mind these Breville juicer instructions as you compare models for an informed purchase decision.
Enhancing Your Juicing Experience
Taking your juicing to the next level involves more than just the basics. Dive into how the right accessories and recipes can enhance your juicing routine with your Breville juicer.
Accessory Recommendations
Investing in the right accessories can make your juicing process smoother and more enjoyable. Consider these top picks:
- High-Quality Cutting Boards: Protects surfaces and makes prep easy.
- Sharp Knives: Ensures clean cuts for quick and efficient preparation.
- Measuring Cups: Helps with precise juice concoctions.
- Glass Storage Bottles: Ideal for storing fresh juice to maintain quality.
- Strainer: Removes extra pulp for smoother juices.
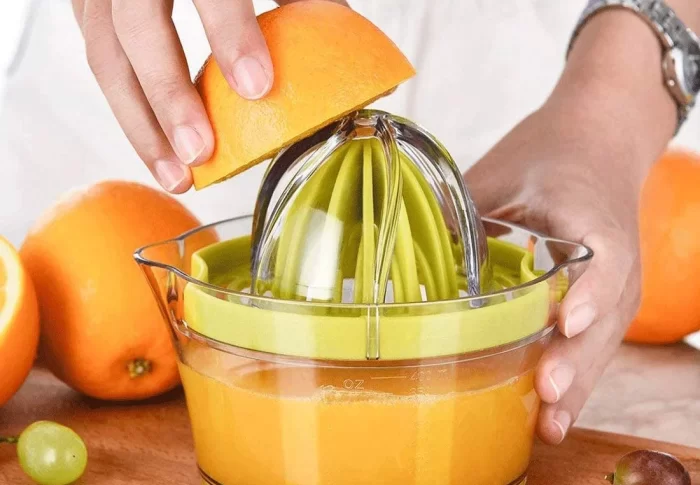
- Juice Press: Extracts more juice from citrus fruits.
These items complement your Breville juicer and aid in following breville juicer instructions to elevate your juicing game.
Crafting Delicious Juice Recipes
Discovering new recipes is part of the fun. Here’s how to craft juices that taste great and are packed with nutrients:
- Balance Flavors: Combine sweet fruits with greens for a tasty mix.
- Use Seasonal Produce: They’re fresher and can offer better flavor.
- Experiment with Herbs: Add herbs like mint or basil for a flavor twist.
- Add Citrus: A squeeze of lemon or lime can enhance the overall taste.
- Follow Recommended Ratios: Stick to recipe guidelines for the best results.
By incorporating these breville juicer instructions into your routine, you can keep your juices exciting and flavorful every day.
Safety Precautions and Best Practices
Ensuring the safe operation of your Breville juicer is crucial. Adhering to safety tips and practices will protect both you and your device. Here are vital aspects to consider for safe handling and operation:
Ensuring Safe Operation of Your Breville Juicer
- Read the Manual: Start by reading the breville juicer instructions thoroughly. It contains important safety information.
- Use Properly: Always use the juicer on a stable, flat surface to prevent tipping.
- Handle Blades Carefully: The blades are sharp. Handle them with care during assembly and cleaning.
- Assemble Correctly: Assemble all parts securely before use following the breville juicer instructions.
- Avoid Metal Objects: Never push items down the feed chute with metal objects. This could cause damage.
- Maintain Supervision: Keep an eye on the juicer if it’s near children or pets to prevent accidents.
- Unplug After Use: Once finished, unplug the juicer before cleaning or disassembling.
- Wear Proper Attire: Avoid loose clothing and ensure long hair is tied back when operating the juicer.
- Be Cautious of Hot Surfaces: Some parts may heat up during use. Allow them to cool before touching.
By applying these safety measures, you can enjoy your juicing experience without undue risks. Remember to integrate these breville juicer instructions into your routine for optimum safety.