Fresh Juice at Home: No Juicer Needed!
Benefits of Making Juice at Home
Creating fresh juice at home comes with numerous advantages. For starters, it can be a major cost-saver. Juice bars often charge a premium for fresh juices, whereas making juice at home is far more economical. Moreover, juicing at home allows you to select from a wide range of fruits and vegetables, enabling you to customize your juice exactly to your taste and nutritional needs.
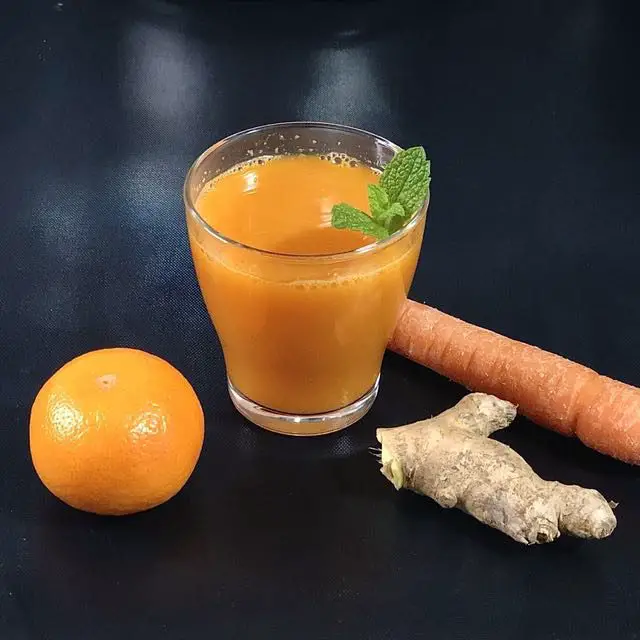
Another benefit is the absence of unwanted preservatives or sugars. Commercial juices may contain added elements that detract from the pure, natural experience. When you juice at home, you control the ingredients, ensuring you get nothing but the fresh, nutrient-dense drink you desire.
Furthermore, the act of juicing itself can be quite fulfilling. There’s a sense of satisfaction in transforming raw ingredients into a vibrant, healthful beverage. It’s also an opportunity for you to be creative, experimenting with different combinations of produce to discover new and exciting flavors.
For those mindful of their environmental footprint, home juicing has an added advantage. It reduces waste from packaging and cuts down on the energy used during commercial production and distribution of juice products.
Lastly, when you juice without a juicer, using basic tools like a blender and nut milk bag, you reduce clutter in your kitchen by not having to own a bulky, single-function appliance. This minimalist approach is perfect for those who value simplicity and efficiency in their kitchen.
In summary, making juice at home without a juicer is wallet-friendly, customizable, fresh, eco-conscious, and it declutters your kitchen space – all while letting you have some fun in the kitchen.
Necessary Equipment for Juicing Without a Juicer
To make fresh juice without a juicer, you need the right equipment. A powerful blender and a nut milk bag are essential. These tools help you create smooth and nutrient-rich juices at home easily.
Choosing the Right Blender
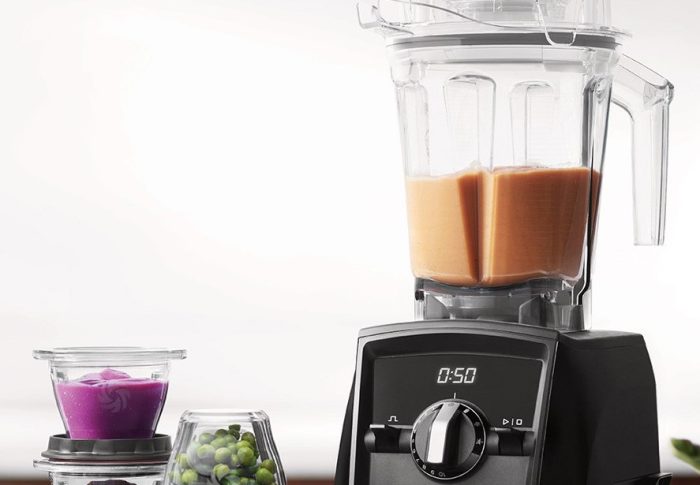
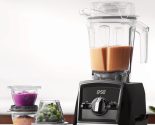
The blender is key to juicing without a juicer. Opt for a high-powered blender like Vitamix, Blendtec, or Ninja. These blenders handle tough vegetables and fruits better. They blend them into a smooth liquid quickly. If you have a regular blender, it can work too. You might just need to blend the ingredients longer.
Using a Nut Milk Bag for Straining
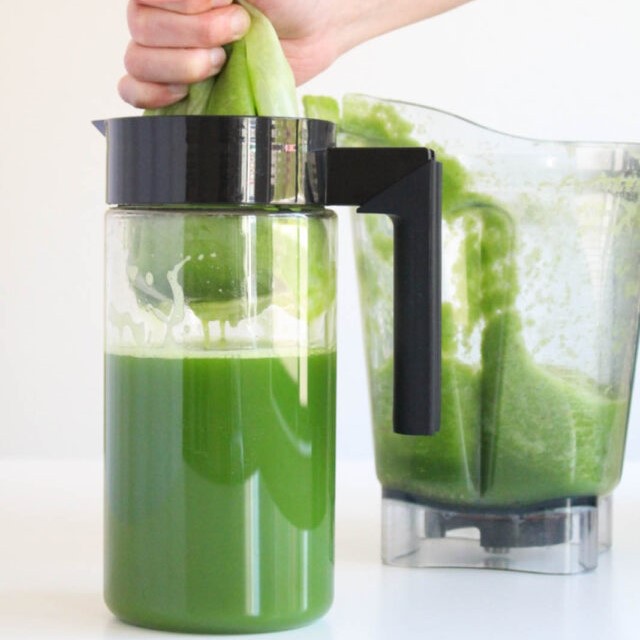
After blending, you must separate the juice from the pulp. This is where a nut milk bag comes in. It is finer than a regular strainer, ensuring you get a smooth juice. Pour the blended mixture through the nut milk bag into a container. Squeeze the bag well to extract all the juice. A nut milk bag is versatile and easy to clean, making it ideal for regular use. It’s a simple yet effective way to enjoy fresh juice at home without a juicer.
Selecting Ingredients for Your Juice
When choosing ingredients for your juice, diversity is crucial. Aim for a mix of fruits and vegetables to balance flavor and nutrition.
Combining Fruits and Vegetables
To make a tasty juice without a juicer, mix both fruits and vegetables. Fruits add sweetness, making the juice more appealing. Vegetables boost the nutrient content. Start with familiar combinations, then experiment with different items to find what you enjoy.
Some popular fruit and vegetable pairs include:
- Apple and carrot for sweetness and nutrition
- Cucumber and mint for a refreshing taste
- Beet and ginger for an earthy zing
- Spinach and pineapple for a tropical twist
Remember to consider the colors and flavors. Bright colored produce often means more antioxidants. A good rule of thumb is to include a green vegetable for its health benefits.
Preparing Your Produce
Before blending, clean all produce well. Use fresh, preferably organic, fruits and vegetables. Cut them into chunks that your blender can handle. Remove thick skins and seeds as needed. This ensures a smoother blend and helps to avoid damaging your blender’s blades. Remember, the better you prepare the produce, the easier the juicing process will be.
 Making Juice Without a Juicer: Step-by-Step Guide
Making juice at home without a juicer is simple and requires a few steps. Here’s how to get started:
- Select Your Ingredients: Choose a variety of fruits and vegetables. Mix colors and flavors for a nutrient-dense drink.
- Prepare the Produce: Wash your chosen fruits and vegetables. Cut them into pieces that will easily blend. Remove any thick skins or seeds.
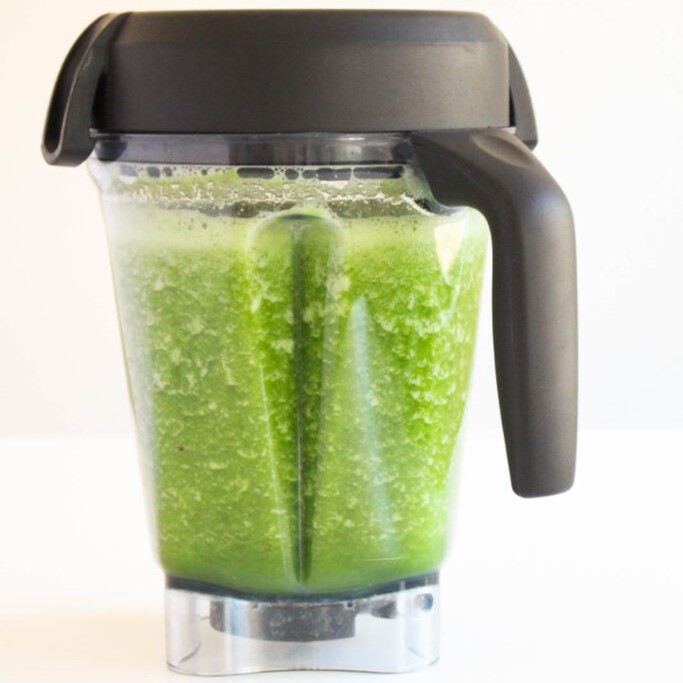
- Blend the Ingredients: Place your cut fruits and vegetables into your blender. Add about two to three cups of water to help the blending process. Blend until smooth.
- Strain the Mixture: Place a nut milk bag over a large bowl or pitcher. Pour the blended mixture into the bag. Use your hands to squeeze out the juice. Continue until you’ve extracted all the liquid.
- Enjoy Your Juice: Pour the juice into a glass and enjoy immediately for the best taste and nutrient intake.
With these steps, you can enjoy fresh, homemade juice anytime without needing a specialized juicer. This method saves money and lets you be creative with your juice flavors.
Tips for Getting the Most Out of Your Homemade Juice
To enhance your homemade juice experience, here are some tips to keep in mind:
- Use Cold Produce: Chilled fruits and vegetables can make your juice more refreshing. Try to keep your produce in the fridge before juicing.
- Balance Flavors: Mix sweet and tart flavors to get a pleasant taste. For example, balance kale with apples or lemon.
- Maximize Nutrients: Use a variety of colors in your ingredients. This means more types of nutrients in your glass.
- Drink Immediately: Fresh juice loses nutrients over time. Drink it as soon as you make it for the best health benefits.
- Limit Waste: Use the leftover pulp in recipes. It’s great for baking, soups, or composting.
- Stay Hydrated: While juice is hydrating, don’t forget water. It’s essential for your health to drink water too.
By following these tips, you can improve both the taste and nutritional value of your homemade juices.
Creative Juice Recipes to Try
Having the right equipment and choosing great ingredients sets you up for success in making delicious, nutritious juices without a juicer. But what elevates the experience is trying out creative juice recipes. Below are some easy and delightful recipes to get you started.
Refreshing Green Juice Blend
This juice is perfect to kick-start your morning:
- 2 cups of spinach
- 1 medium cucumber
- 1 green apple, sliced
- Juice of 1 lemon
- A handful of fresh mint leaves
Blend these ingredients together with a bit of water, then strain using your nut milk bag. The result is a refreshing, hydrating juice that’s a tiny bit sweet and packed with nutrients.
Antioxidant Berry Citrus Juice
Try this for a fruity, nutrient-packed drink:
- 1 cup of mixed berries (strawberries, blueberries, raspberries)
- 1 orange, peeled
- 1 carrot
- A small piece of ginger
Combine all the fruits and carrot in the blender with some water, blend them well, and strain. The ginger gives a nice zing, while the berries and orange provide a wealth of antioxidants.
Tropical Twist Juice
For something exotic, here’s a tropical mixture:
- 1 cup of pineapple chunks
- 1 mango, pitted and sliced
- 1 banana, peeled
- A handful of kale or spinach for added greens
Blend these tropical ingredients with water and strain. The banana adds creaminess and the kale or spinach sneaks in extra nutrition.
Experimenting with these recipes can lead to discovering your own juices that suit your tastes and health goals. Plus, you get to enjoy fresh, homemade juice any time without spending too much or depending on specialty shops. Give these recipes a go and relish the fresh flavors and health benefits they offer.
 Cleaning and Maintenance Tips for Blender and Straining Equipment
To ensure your juice-making equipment lasts long, proper care and maintenance are key. Here are some straightforward tips to keep your blender and nut milk bag in excellent condition.
For Your Blender
- Clean After Each Use: Immediately after making your juice, rinse the blender with warm water. This prevents residue from hardening and makes thorough cleaning easier.
- Deep Clean Weekly: Once a week, fill the blender halfway with warm water and a drop of dish soap. Run it on high for a minute, then rinse well. This process helps remove any lingering odors or stains.
- Inspect Blades Regularly: Check the blades for dullness or damage every few months. Sharp blades ensure efficient blending and prevent motor strain.
- Dry Completely: After washing, let the blender air dry completely before storing. This prevents mold or odors from developing.
For Your Nut Milk Bag
- Rinse Immediately: After straining your juice, rinse the nut milk bag under cold water. This removes pulp and residue.
- Soak if Needed: If the bag has stubborn stains, soak it in a mixture of vinegar and water for a few hours before washing.
- Machine Wash Safe: Most nut milk bags are safe to clean in the washing machine. Use a gentle cycle and air dry afterward.
- Inspect for Wear and Tear: Periodically check your nut milk bag for any signs of wear or holes. A damaged bag won’t strain effectively.
By following these simple care and maintenance tips, your equipment for making juice without a juicer will remain in prime condition, ensuring you get the best out of your homemade juices.

