Is it difficult to install a range hood?
Introduction
The installation of a range hood may seem like a daunting task to some, but with proper guidance and preparation, it can be a manageable endeavor. In this comprehensive guide, we will debunk the notion that installing a range hood is difficult by providing a step-by-step approach. By addressing common concerns and highlighting essential considerations, we aim to empower you to successfully install a range hood and enhance the functionality and safety of your kitchen.
Is it difficult to install a range hood?
I. The Importance of Proper Installation
-
Functionality:
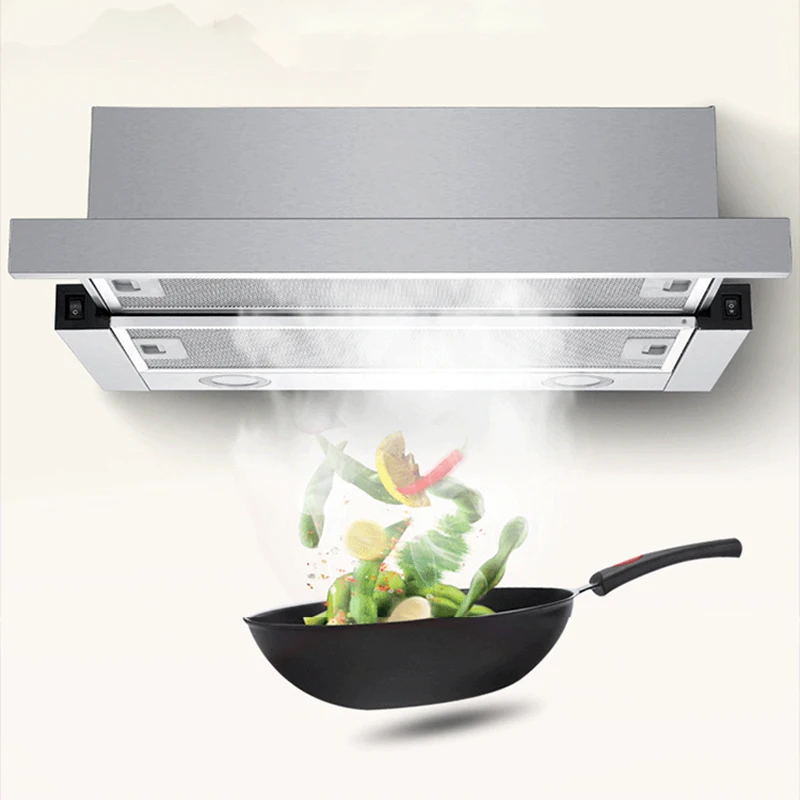
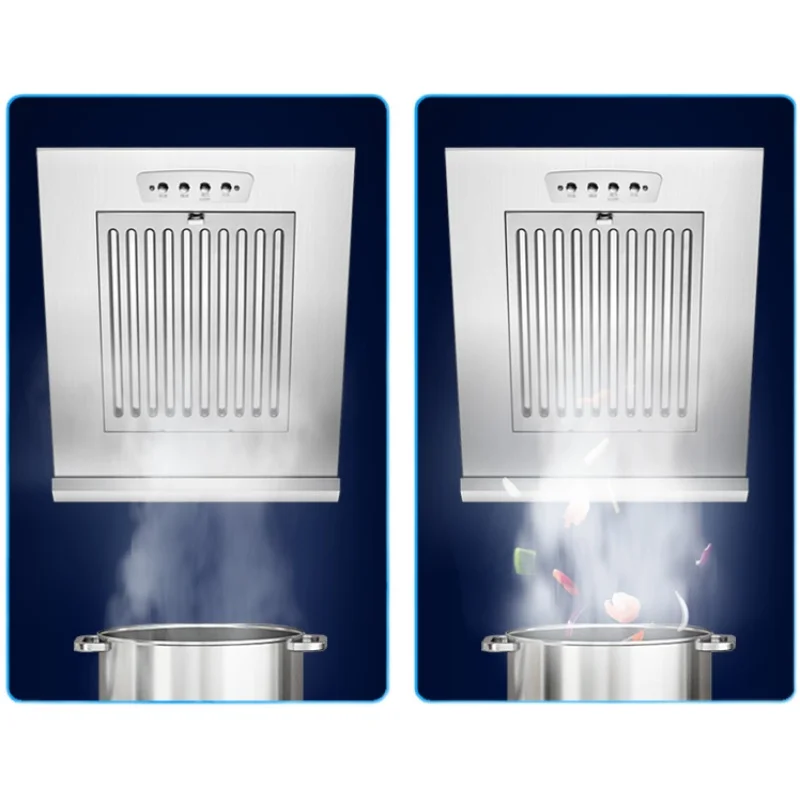
- A range hood plays a vital role in eliminating smoke, odors, and grease particles produced during cooking, ensuring a clean and healthy kitchen environment. Proper installation ensures the range hood operates effectively and efficiently.
-
Safety:
- A well-installed range hood helps remove potentially harmful pollutants and gases, promoting a safer cooking experience. Adequate installation prevents the accumulation of grease and protects against fire hazards.
II. Assessing Installation Difficulty
-
Skill Level:
- The difficulty level of installing a range hood can vary depending on your familiarity with basic home improvement tasks, such as handling tools, electrical connections, and working with mounting hardware. However, with proper guidance, even individuals without extensive experience can successfully complete the installation.
-
Scope of Installation:
- The complexity of the installation can vary based on factors such as the existing infrastructure in your kitchen, the type of range hood being installed (ductless or ducted), and any necessary modifications required.
III. Pre-Installation Preparation
-
Read Manufacturer’s Instructions:
- Carefully review the range hood manufacturer’s instructions before beginning the installation process. They will provide specific guidelines, requirements, and safety precautions that need to be followed.
-
Gather Tools and Materials:
- Ensure you have all the necessary tools and materials for the installation, including a screwdriver or drill, measuring tape, pencil or marker, level, stud finder, step ladder, adjustable wrench (if necessary), wire cutters (if necessary), range hood mount, screws and wall anchors, ductwork (if applicable), vent cap (if applicable), wire nuts and electrical tape (if applicable), and duct tape (if applicable).
IV. Step-by-Step Installation Guide
-
Evaluating Existing Infrastructure:
- Begin by examining the current infrastructure in your kitchen, including the presence of an electrical outlet and ventilation options. Pre-existing ductwork or wiring may simplify the installation process.
-
Choosing the Installation Location:
- Select an ideal location for your range hood by considering factors such as the proximity to the cooktop, accessibility to an electrical outlet, and the availability of proper ventilation opportunities.
-
Assessing Ductwork Needs:
- Determine whether you require ductwork for proper ventilation or if you will be using a ductless range hood. Ducted installation requires connecting the range hood to an external vent, while ductless installation utilizes filters to recirculate air.
-
Locating Studs:
- Use a stud finder to locate wall studs near the chosen installation location. Mark their position on the wall as this will determine the precise placement of the range hood mount.

-
Measuring and Marking:
- Measure and mark the desired installation height on the wall. Ensure there is sufficient clearance above the cooktop for the range hood to effectively capture smoke and airborne particles. Use a level to create a horizontal guideline for accurate installation.
-
Mounting the Range Hood:
- If using a range hood mount, position the mounting template against the wall at the marked installation height and trace its outline. Pre-drill pilot holes within the outline and secure the mount to the wall using screws and wall anchors. Ensure proper alignment and a level placement.
-
Connecting Ductwork (if applicable):
- If ductwork is required, follow the range hood manufacturer’s instructions to connect the appropriate duct sections to the range hood. Secure the connections with duct tape or clamps, ensuring a straight path with minimal bends for efficient venting.
-
Securing the Range Hood:
- Lift the range hood and align it with the mounting bracket or screws on the wall. Ensure it is level and flush against the wall. Secure the range hood tightly to the mounting bracket using screws provided by the manufacturer.
-
Electrical Connection (if applicable):
- If the range hood requires electrical connection, ensure the power to the circuit is turned off. Follow the manufacturer’s instructions to connect the range hood’s wiring to an existing electrical supply or an outlet. Secure the wire connection with wire nuts and electrical tape.
-
Final Adjustments and Testing:
- Check that the range hood is level and properly aligned. Restore power to the circuit and test the range hood’s functionality. Confirm that the exhaust fan operates effectively and that any lighting features, if applicable, are functional.
V. Post-Installation Considerations
-
Clean-Up:
- Dispose of any packaging materials and clean up any debris resulting from the installation process. Ensure the installation area is clean and free from obstruction.
-
Maintenance and Regular Cleaning:
- Maintain your range hood by cleaning it regularly, following the manufacturer’s guidelines. This includes cleaning or replacing filters, wiping down exterior surfaces, and inspecting ductwork for any blockages or accumulation of debris.
VI. Seeking Professional Assistance
-
When to Seek Professional Help:
- If you feel overwhelmed or are uncomfortable with any part of the installation process, it is advisable to seek professional assistance. A professional installer will have the necessary expertise to handle complex situations and ensure a safe and successful installation.
-
Consulting Experts:
- Reach out to professional installers who specialize in range hood installations. They can evaluate your specific requirements, offer advice, and provide accurate cost estimates for their services. Ensure that the professional is licensed and insured for your peace of mind.
VII. Conclusion: Manageable Installation for Improved Kitchen Functionality
Installing a range hood may initially seem challenging, but with proper preparation, guidance, and attention to detail, it can be a manageable task. Assess your skill level, gather the necessary tools and materials, and follow the step-by-step instructions provided to ensure a successful installation.
Remember to consult the manufacturer’s instructions, evaluate the existing infrastructure, and consider the need for ductwork or electrical connections. If needed, seek professional assistance from reputable installers to ensure a safe and efficient installation process.
By undertaking this installation project, you will enhance the functionality, safety, and air quality in your kitchen, contributing to a more enjoyable and healthy cooking experience.