How to Install a Ductless Range Hood?
Introduction:
A ductless range hood is an excellent addition to any kitchen, improving air quality by filtering out smoke, grease, and odors without the need for external ventilation. Installing one can be a rewarding DIY project if you follow the proper steps. This comprehensive guide provides detailed instructions on how to install a ductless range hood, from preparation to final touches, ensuring a successful and efficient installation process.
 –
–
How to Install a Ductless Range Hood?
Understanding What a Ductless Range Hood Is
Before diving into the installation process, it’s important to understand what a ductless range hood is and how it works.
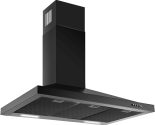
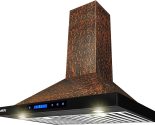
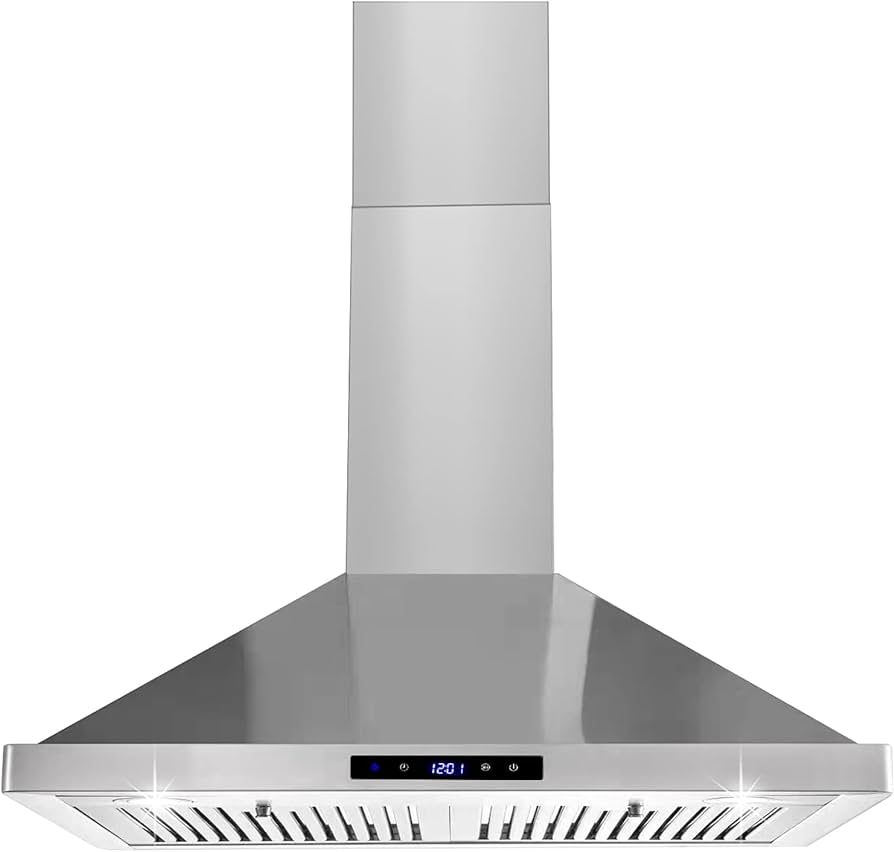
Definition and Function: A ductless range hood, also known as a recirculating range hood, filters and cleans the air using charcoal and grease filters before recirculating it back into the kitchen. Unlike ducted range hoods, it doesn’t require external ductwork.
Benefits: Ductless range hoods are versatile and relatively easy to install since they don’t need a vent to the outside. They are ideal for apartments, condos, and homes where installing ductwork is not feasible.
Preparing for Installation
Proper preparation ensures a smooth and successful installation process.
Gathering Necessary Tools and Materials:
- Ductless range hood kit (including charcoal filters, if not pre-installed)
- Measuring tape
- Level
- Pencil or marker
- Drill and appropriate drill bits
- Screwdriver or power driver
- Wall anchors and screws
- Stud finder
- Safety glasses and gloves
Choosing the Installation Location
Select an appropriate location to mount the ductless range hood.
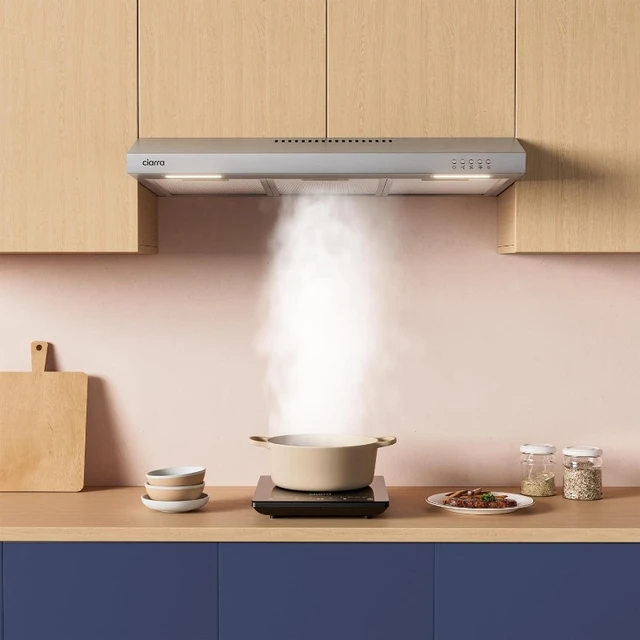
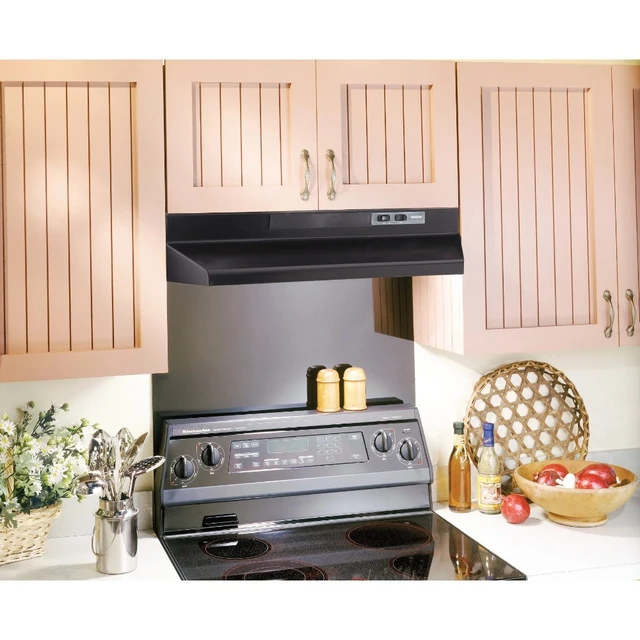
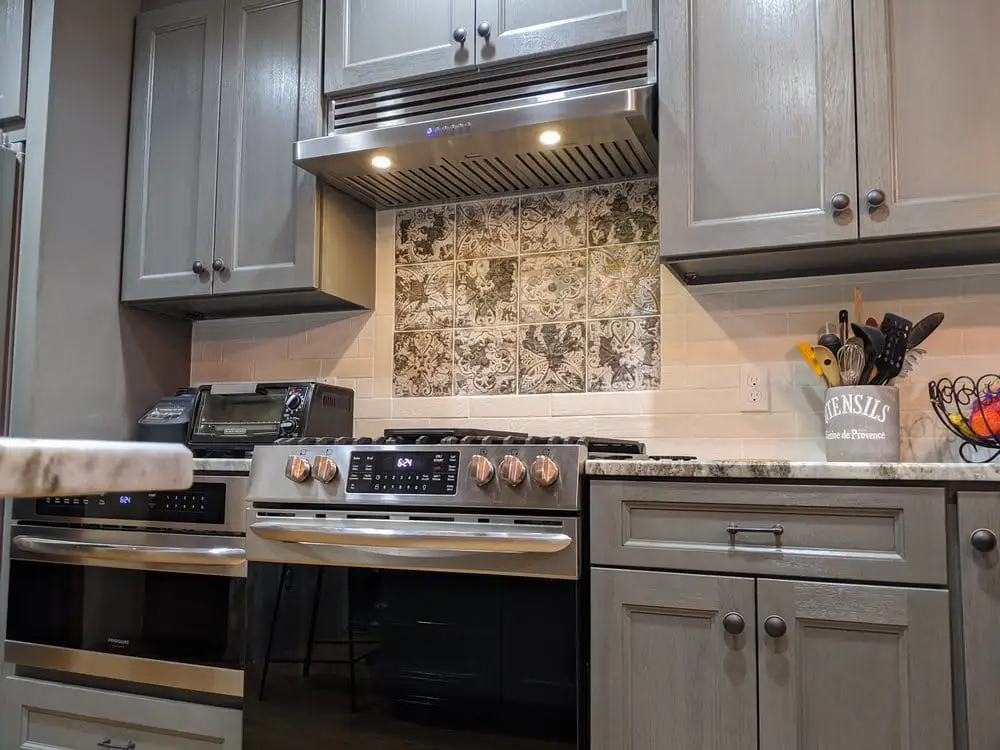
Placement Considerations: Position the range hood directly above the cooking surface, maintaining a distance of 24-30 inches from the stovetop to the bottom of the hood. Ensure the location allows for easy access to power outlets.
Measuring and Marking: Measure the width of the cooktop and center the range hood installation accordingly. Use a level to mark the mounting points on the wall or under the cabinet accurately.
Identifying Wall Studs: Use a stud finder to locate wall studs or ceiling joists. Mark their locations, as securing the range hood to studs provides better support and stability.
Installing the Mounting Bracket
The mounting bracket is essential for securing the range hood in place.
Drilling Pilot Holes: Based on the marked positions, drill pilot holes into the wall or under the cabinet. Use an appropriate-sized drill bit for the screws and wall anchors.
Securing the Bracket: Align the mounting bracket with the pilot holes. Insert wall anchors if mounting into drywall. Secure the bracket with screws, ensuring it is level and firmly attached to the wall or cabinet.
Mounting the Range Hood
Attaching the range hood to the mounting bracket is the next crucial step.
Aligning the Range Hood: Align the range hood with the mounting bracket, ensuring the intake vents face the cooking surface. Attach the range hood to the bracket according to the manufacturer’s instructions.
Securing the Unit: Use screws or other provided fasteners to secure the range hood to the mounting bracket. Ensure it is stable and level, with no movement or wobbling.
Connecting the Electrical Wiring
Properly connecting the electrical wiring is essential for the range hood’s functionality.
Shutting Off Power: Turn off the power to the kitchen circuit at the circuit breaker panel to ensure safety during installation.
Accessing the Electrical Panel: Remove the range hood’s electrical panel cover to access the wiring compartment. Follow the manufacturer’s wiring diagram carefully.
Connecting the Wires:
- Black (Hot) Wire: Connect the black wire from the power source to the black wire on the range hood.
- White (Neutral) Wire: Connect the white wire from the power source to the white wire on the range hood.
- Green or Bare (Ground) Wire: Connect the green or bare ground wire from the power source to the ground wire or grounding screw on the range hood.
Securing the Connections: Use wire connectors to secure the connections. Ensure all connections are tight and properly insulated. Replace the electrical panel cover and secure it with screws.
Installing Filters and Final Touches
Installing the filters and completing final adjustments ensure optimal performance.
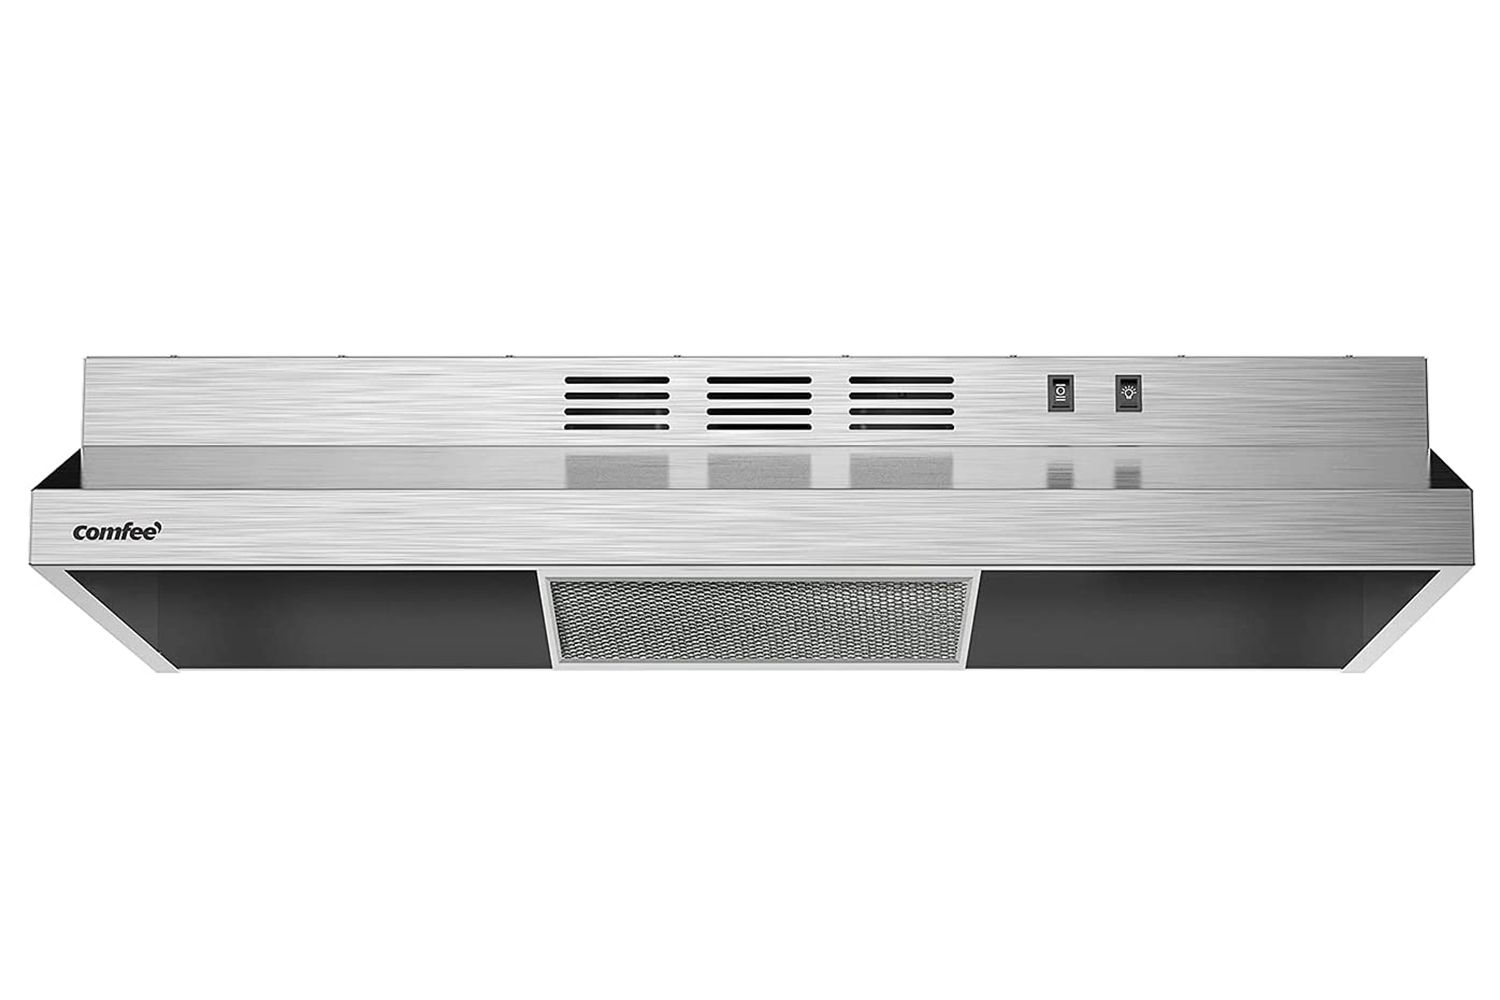
Inserting Charcoal Filters: Install the charcoal filters according to the manufacturer’s instructions. These filters are essential for capturing odors and impurities.
Testing the Range Hood: Restore power to the kitchen circuit. Turn on the range hood to test its operation. Check for proper airflow and lighting functionality.
Final Adjustments: Make any necessary adjustments to the range hood’s positioning or mounting to ensure stability and proper alignment. Clean the hood’s exterior and filters before regular use.
Maintenance and Care Tips
Regular maintenance enhances the longevity and performance of your ductless range hood.
Cleaning Filters: Regularly clean or replace the grease and charcoal filters according to the manufacturer’s recommendations. Grease filters can be washed with warm, soapy water, while charcoal filters need periodic replacement.
Wiping the Exterior: Clean the exterior of the range hood with a damp cloth and mild detergent to remove grease and dust buildup. Avoid using abrasive cleaners that can damage the finish.
Checking for Proper Functionality: Periodically check the range hood for proper operation, including airflow, fan speed, and lighting. Address any issues promptly to maintain efficiency.
User Insights and Experiences
Gaining insights from users who have installed ductless range hoods can provide practical tips and perspectives.
Positive Feedback on Ease of Installation: Many users find installing ductless range hoods relatively straightforward, especially with clear instructions and the right tools. The absence of ductwork simplifies the process.
Recommendations for Regular Maintenance: Users emphasize the importance of regular filter cleaning and replacement to ensure the range hood operates effectively. Proper care extends the lifespan and efficiency of the unit.
Challenges and Solutions: Some users encounter challenges with aligning the range hood or connecting the electrical wiring. Careful measurement, using a level, and following safety precautions can address these issues.
Conclusion
Properly installing a ductless range hood involves understanding its function, preparing the installation site, mounting the unit, connecting electrical wiring, and maintaining the system. User insights, professional guidance, and a comparison of ductless versus ducted options provide valuable perspectives on making an informed decision. Regular maintenance and care ensure the efficiency and longevity of your ductless range hood, contributing to improved air quality and a healthier kitchen environment. Whether through DIY efforts or professional assistance, a well-installed ductless range hood enhances both the functionality and aesthetics of your kitchen.